Repairs · Kenilworth
Garage Door Perimeter Weatherstrip in Kenilworth
Dry leaves keep appearing in the same corner inside the garage, and this fall there were mouse droppings along the wall beside the door.
In plain words
Around a garage door there are three seals: one on the bottom edge of the door, and two running up the sides and across the top of the opening. Those last two are the perimeter weatherstrip. They are fixed to the stop moulding on the jambs and header, and their flexible fin rests against the door face when it is closed, closing the gap between door and frame. Replacing them means fitting new lengths that meet the door evenly, cutting down how much wind, driven snow, dust, leaves and small animals get through. The bottom seal is handled as its own job, but the two are often done together.
How the visit goesAfter a windy night there is a fine ridge of snow on the garage floor along one side of the door, and another across the top step. The door was shut the whole time; the snow came in around it.
Garage Door Perimeter Weatherstrip
How the visit goes
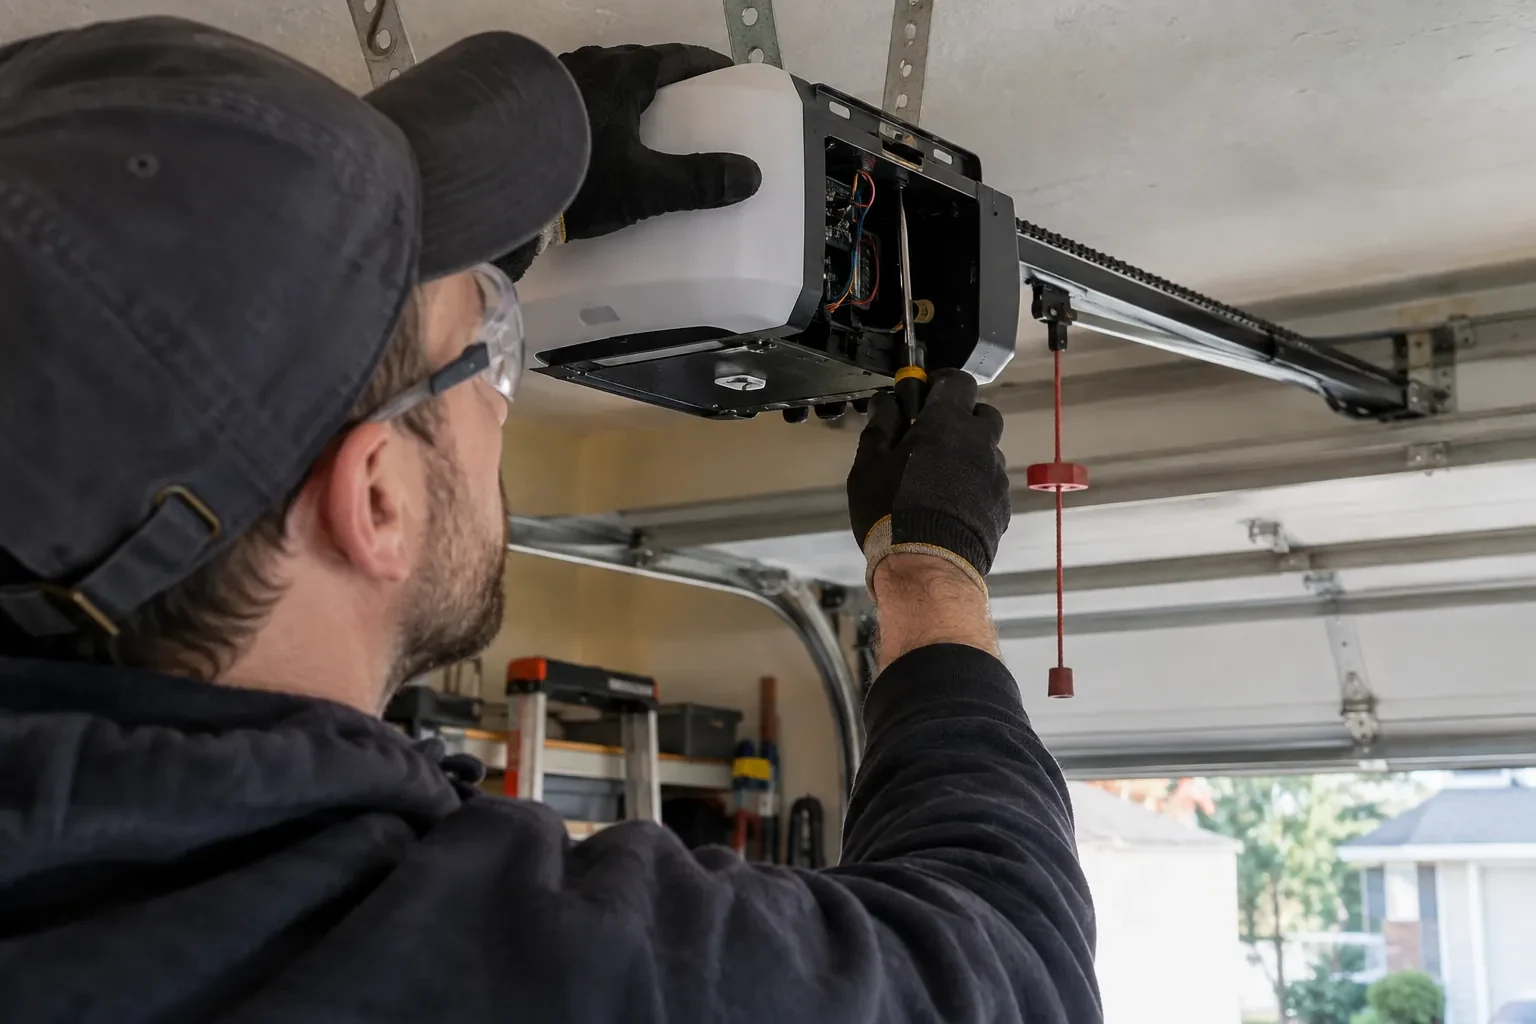
Probing the jambs and header
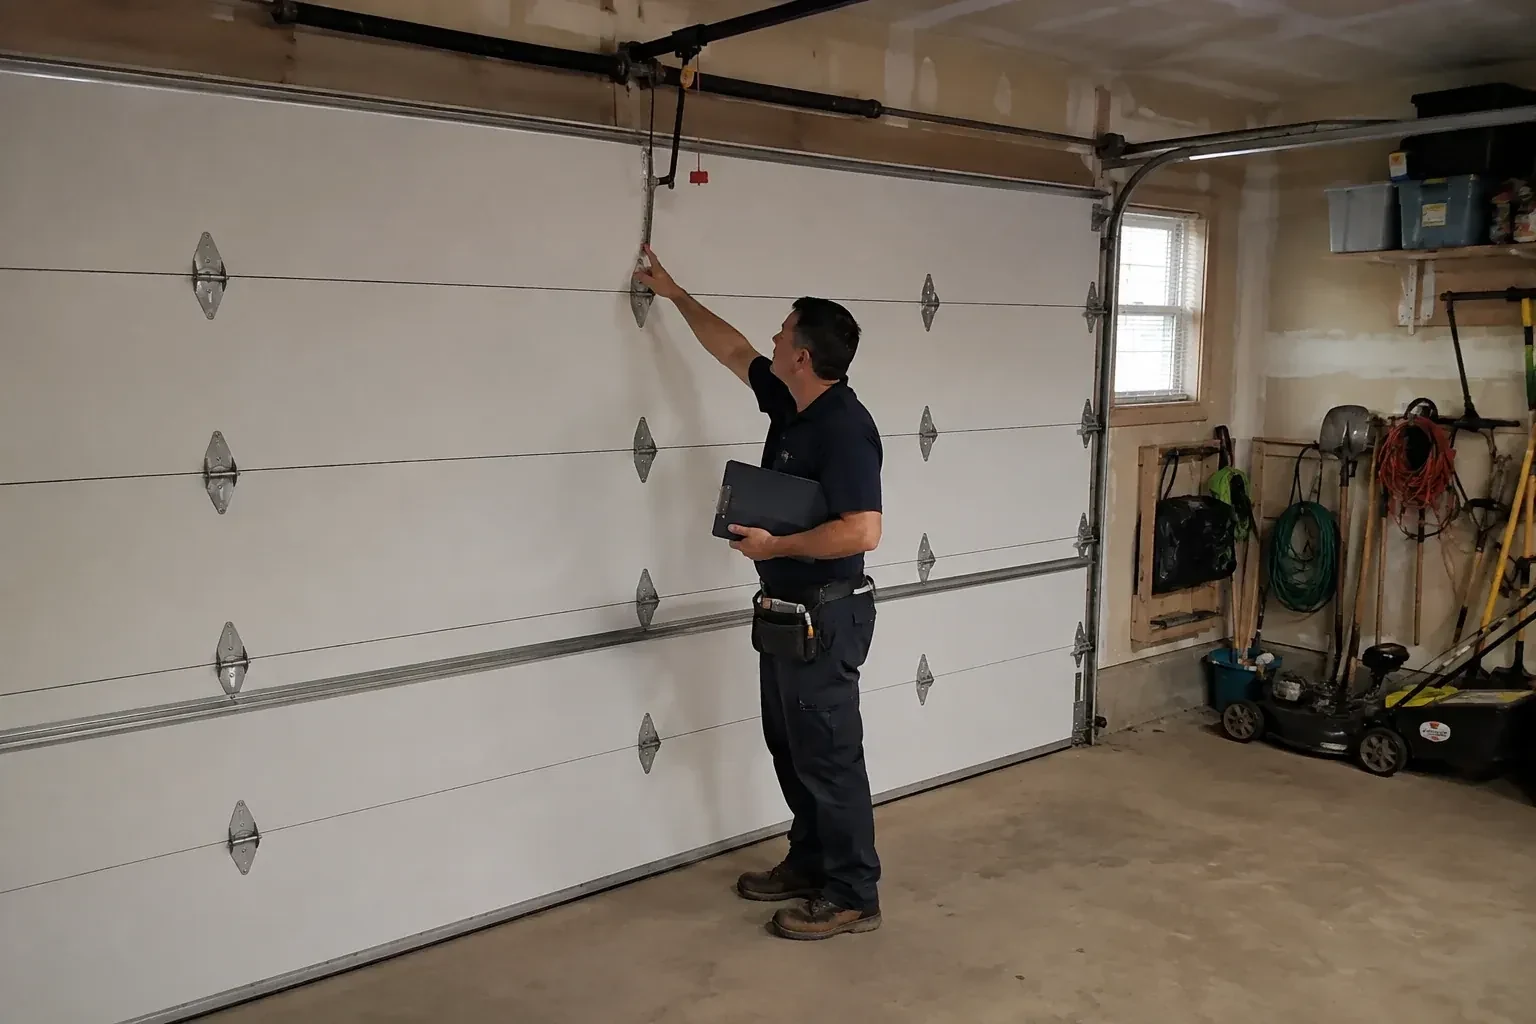
The strip is only as secure as the wood behind it, so the jambs are probed with an awl along their length and especially the lowest part, where slush and salt sit all winter. Soft, dark or crumbling wood is marked for repair. The header is checked for sag and for gaps opening between it and the top section. Where the jambs are clad in aluminum or vinyl, the technician looks for what the cladding hides and for where the seal can be fastened through to solid material. This step often adds a splice of new lumber or PVC trim to the job, and it is what makes the new seal stay put.
Taking off the old strip cleanly
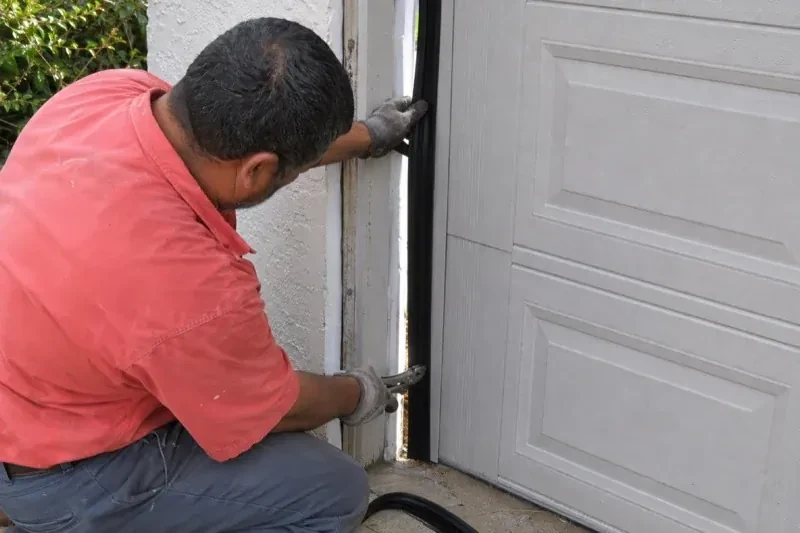
The old fin or stop comes off with a flat bar worked behind it a little at a time, so the trim and any brickmould stay intact. Nails are drawn with end-cutting pliers rather than hammered through, staples are lifted, and any old adhesive is scraped back to bare surface. Where the whole wood stop is being replaced with a one-piece vinyl stop, the stop is freed along its length and lifted out, and the paint ridge it leaves is knocked down so the new moulding sits flat. The bare jamb is brushed clean and any loose paint at the edges is removed before anything new goes on.
Before the freezing rain
In late autumn, wipe the fin with a silicone spray or a silicone-based lubricant on a cloth. It leaves a film that cuts the odds of meltwater bonding the fin to the cold door face during an ice storm, though a hard freeze can still catch it. Oil-based products are avoided because they swell and soften vinyl over time. The same wipe once or twice through the winter keeps the fin supple. If the door does freeze to the seal, a little warm water along the edge from inside, or simply waiting for the sun, frees it without pulling; dry the thawed spot afterwards so it does not simply refreeze.
Garage Door Perimeter Weatherstrip
In the van
Epoxy consolidant and exterior primer
Exterior screws and weatherproof staples
Exterior caulking and gun
Vinyl stop moulding with integral seal
Galvanized or stainless trim nails
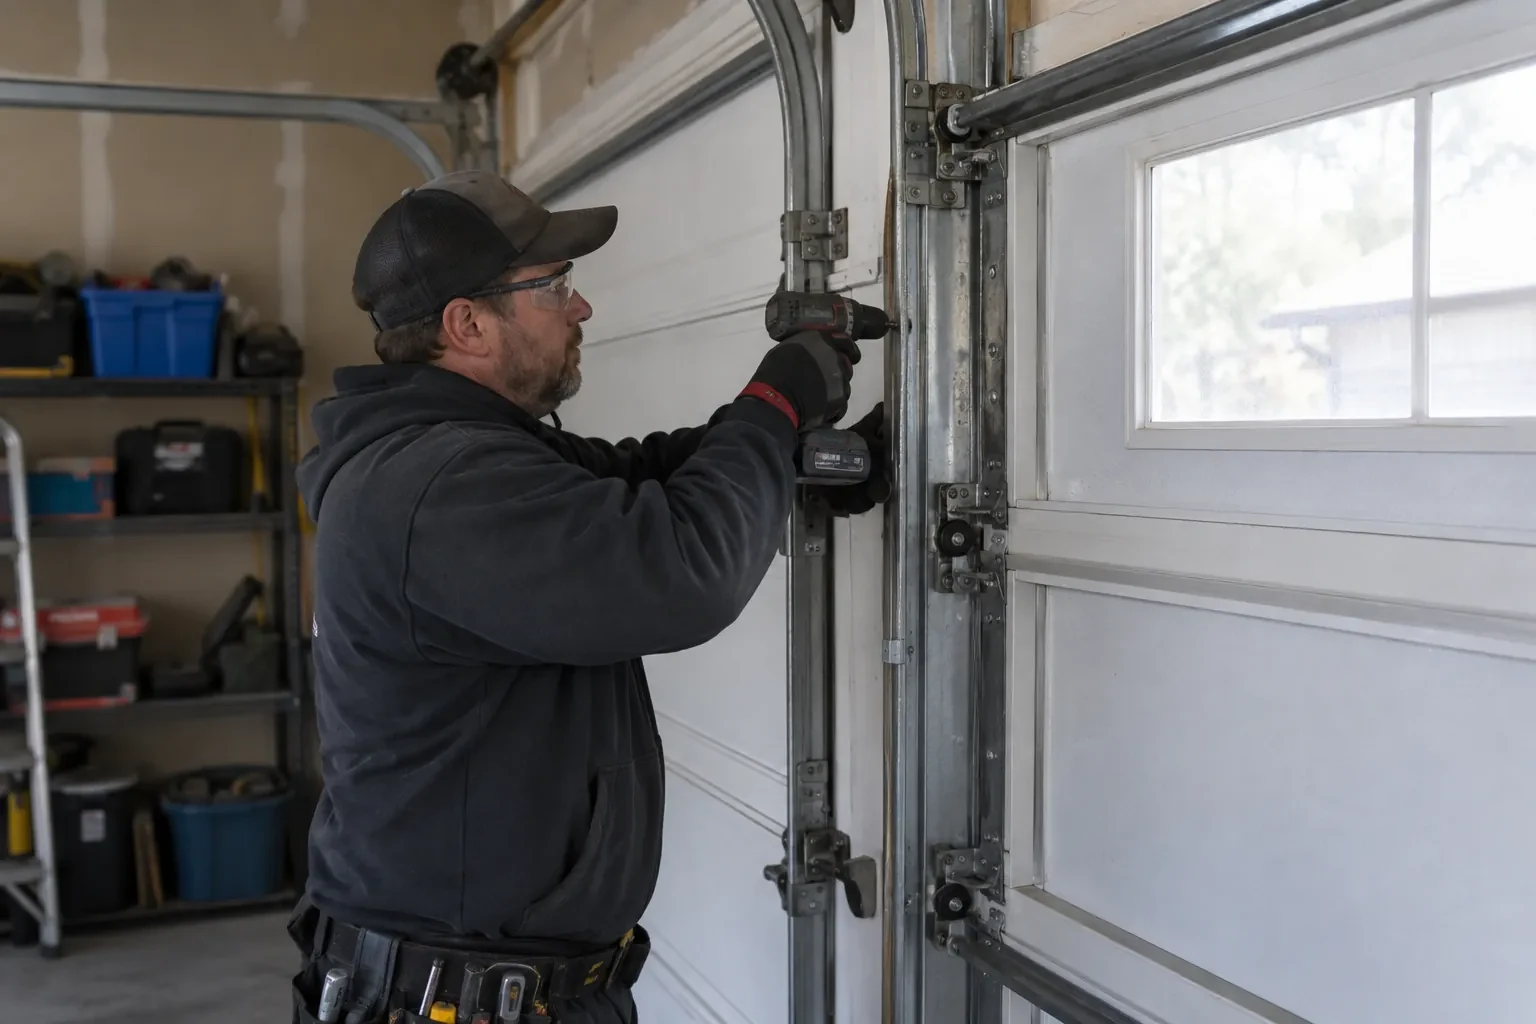
Garage Door Perimeter Weatherstrip
What affects the quote
Adding a brush or foam seal to the sides as well as the stop
Some households want only the top and side stop replaced, while others add a brush or foam seal along the same run for a tighter fit against wind-driven snow. That extra material and the time to fit it are agreed before the old stop comes off.
Corner detailing
Mitred corners on a one-piece stop, or fitting round an unusual trim profile, take more cutting and fitting than butted corners on a plain jamb.
Condition of the jambs
Soft or rotten wood at the base of a jamb is cut out and spliced with new lumber or PVC trim before the seal goes on, and that repair is quoted as its own item.
What to have ready
- Is your garage attached to the house, and is it heated?
- Is the bottom seal on the door also worn?
- Where do you see daylight, drafts or snow: sides, top, or corners?
Garage Door Perimeter Weatherstrip: questions
QuestionsWhy is there daylight on one side but not the other?
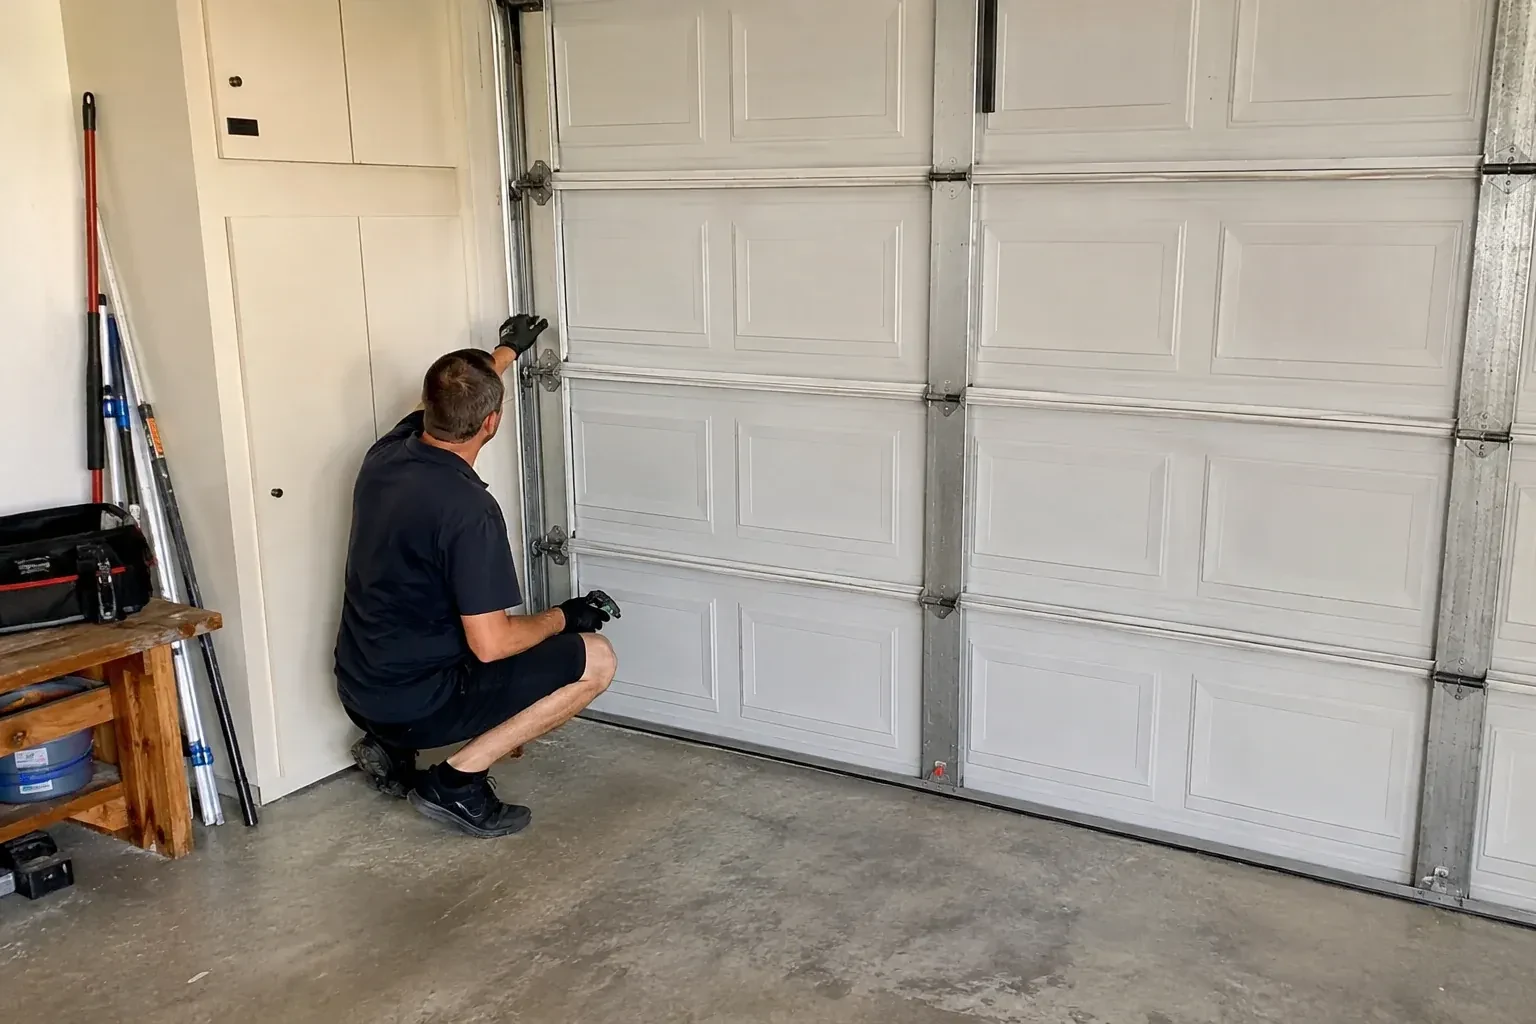
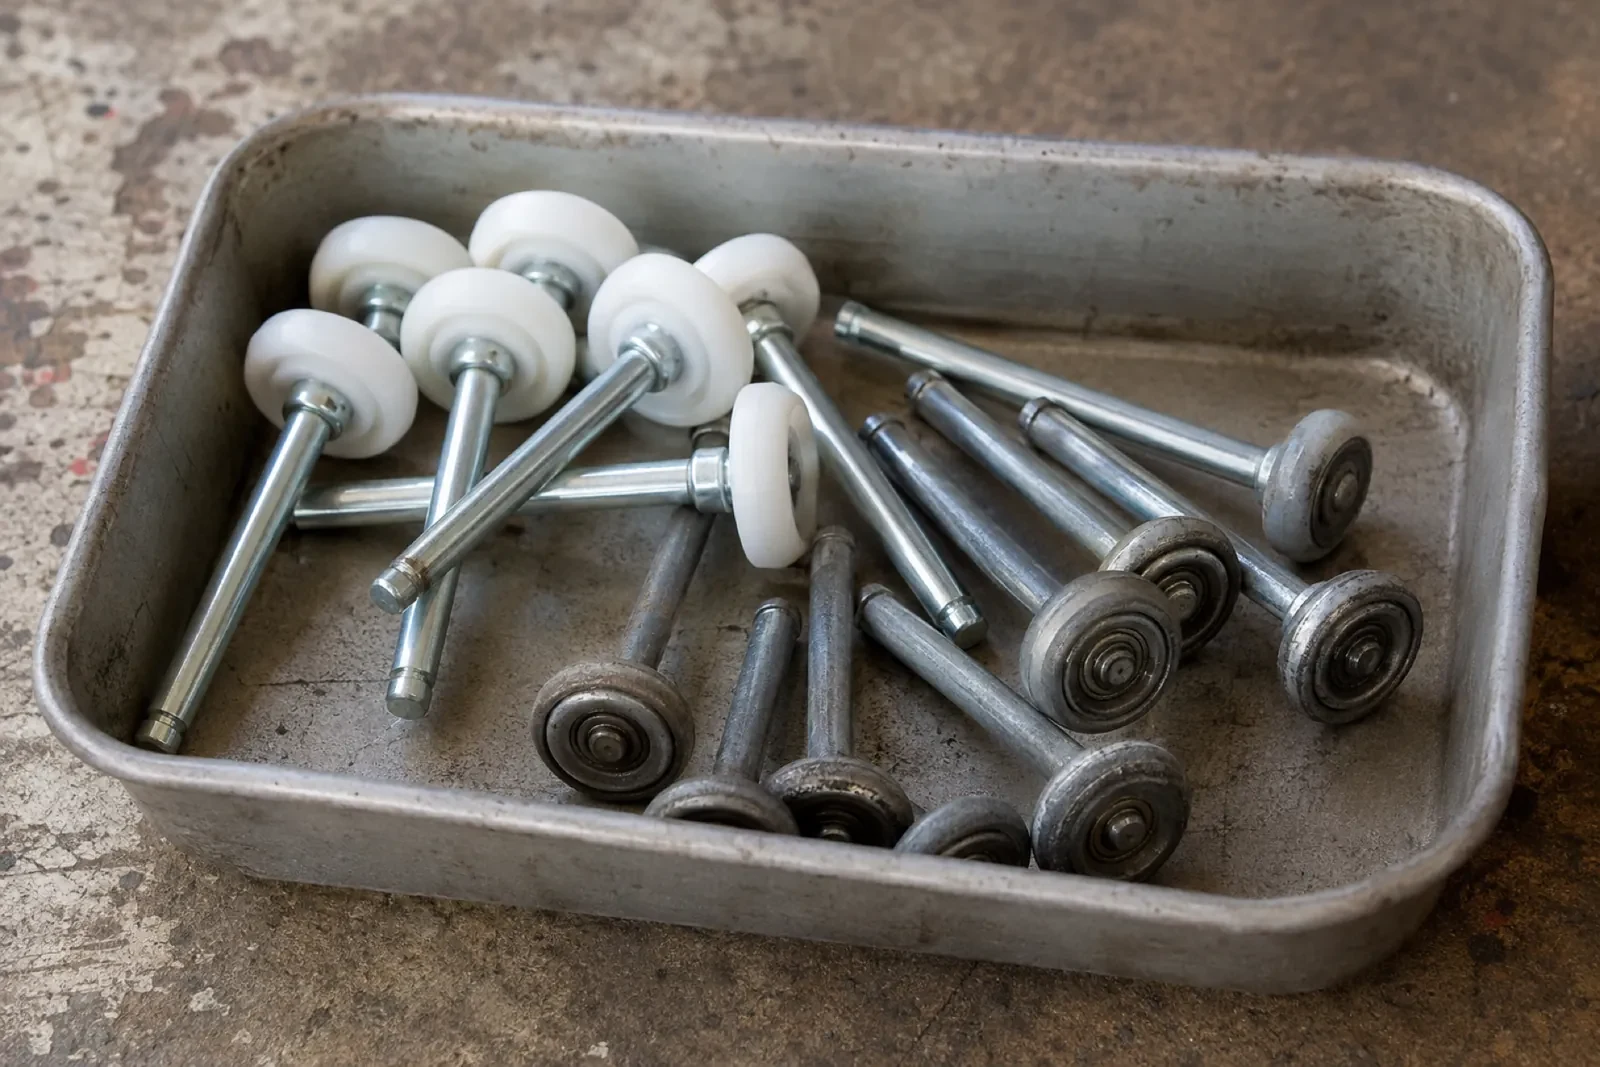
It can be either. Worn rollers, a track bracket that has shifted or a top section that bows can move the door face toward one jamb and away from the other, and a seal that is damaged, shrunk, the wrong size or set slightly off the door face shows the same way. The technician checks both the door's alignment and the seal itself, corrects what is out of true, then fits the new seal to a door that closes evenly.
How can I tell the side and top seal needs replacing?
Close the door, turn off the garage lights and look along the edges for daylight. Then press the fin with a thumb: it should be soft and spring back. Hardness, cracks, pieces missing, a strip hanging loose, snow or leaves inside along the edge, or a fin that has folded under and torn are all signs. A rubbing squeal as the door moves is another.
Why should the seal only touch the door lightly?
The fin is meant to bend against the door with a small, even deflection. That is enough to seal, and it lets the fin spring clear as the door lifts. Pressed hard, it drags on the door face, folds under on the way down, squeals and wears through well before its time, and it adds load to the opener. Set too far off, it leaves a standing gap. The light touch is the setting that lasts.