Openers · Centre Wellington
Emergency Release Repair
It is the coldest morning of the year.
In plain words
The visit runs in a fixed order. On the phone you describe what the release did, where the door was, and what kind of opener hangs from the ceiling. On site the door is closed or safely supported before anything else. The release assembly is inspected from handle to trolley, the door is disconnected and lifted by hand to check its balance, and the failed part is replaced with one that fits the model. The handle is set to the right height, the trolley is reconnected with the door closed, and the opener runs full cycles and both reversal tests. It ends with a demonstration on your own door.
How the visit goesYour garage is detached and has no side door. The remote is dead, the keypad is dead, and the small round lock in the top panel is meant to be your way in. The key goes in and turns, but nothing on the other side lets go.
Emergency Release Repair
How the visit goes
Reading the release as a chain of parts
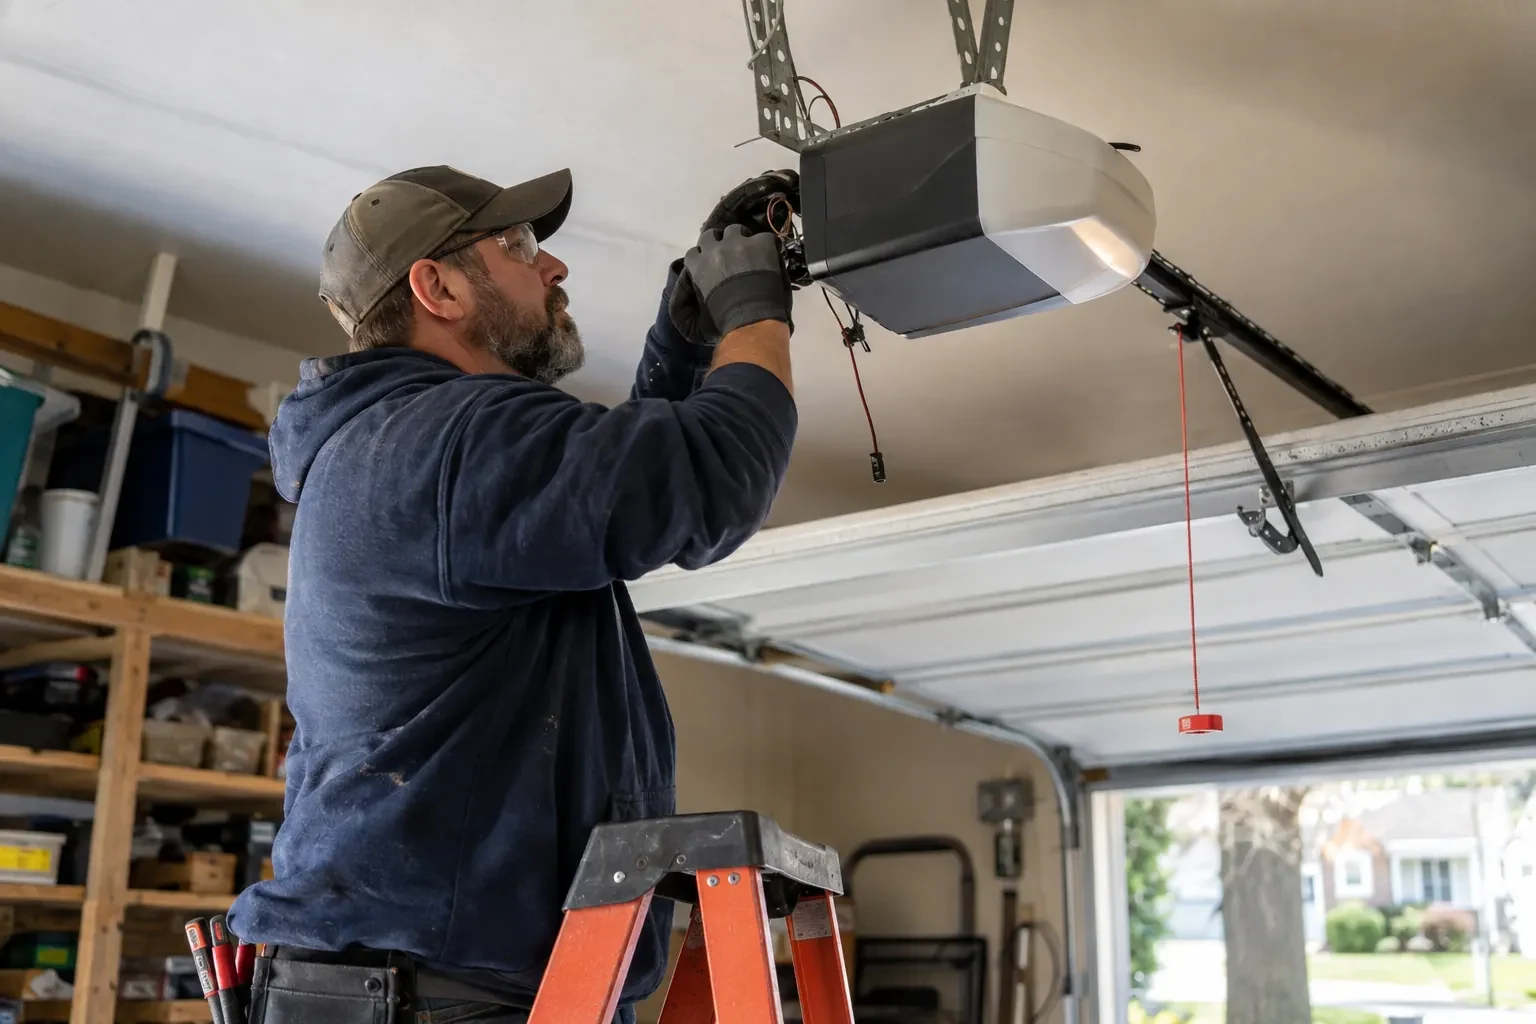
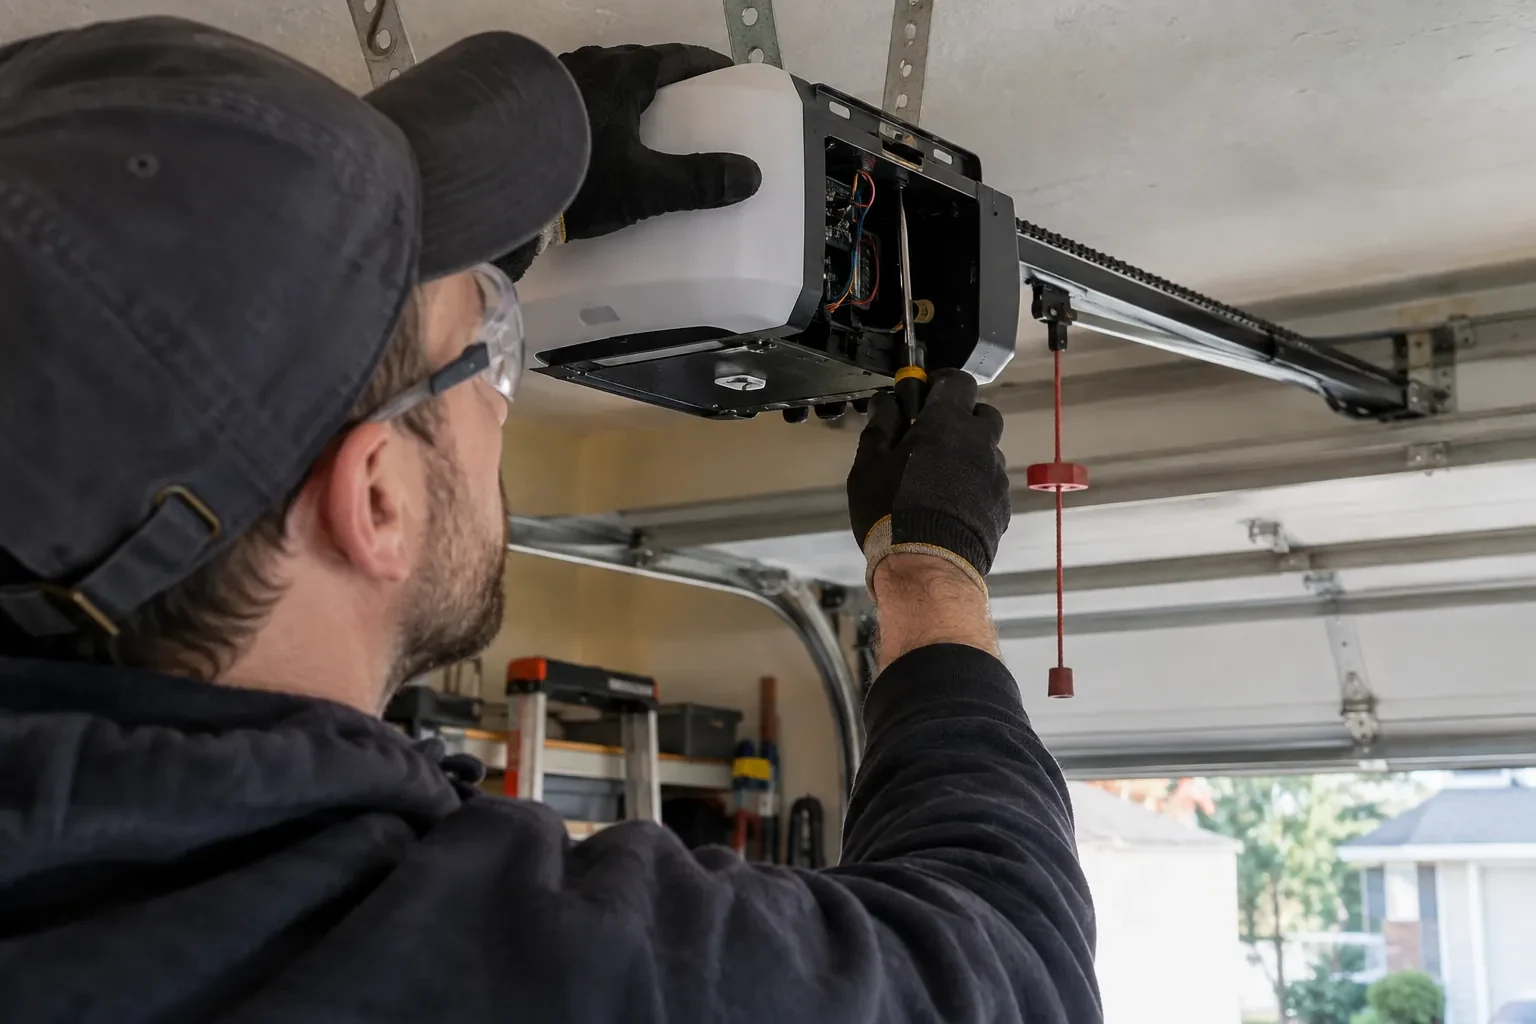
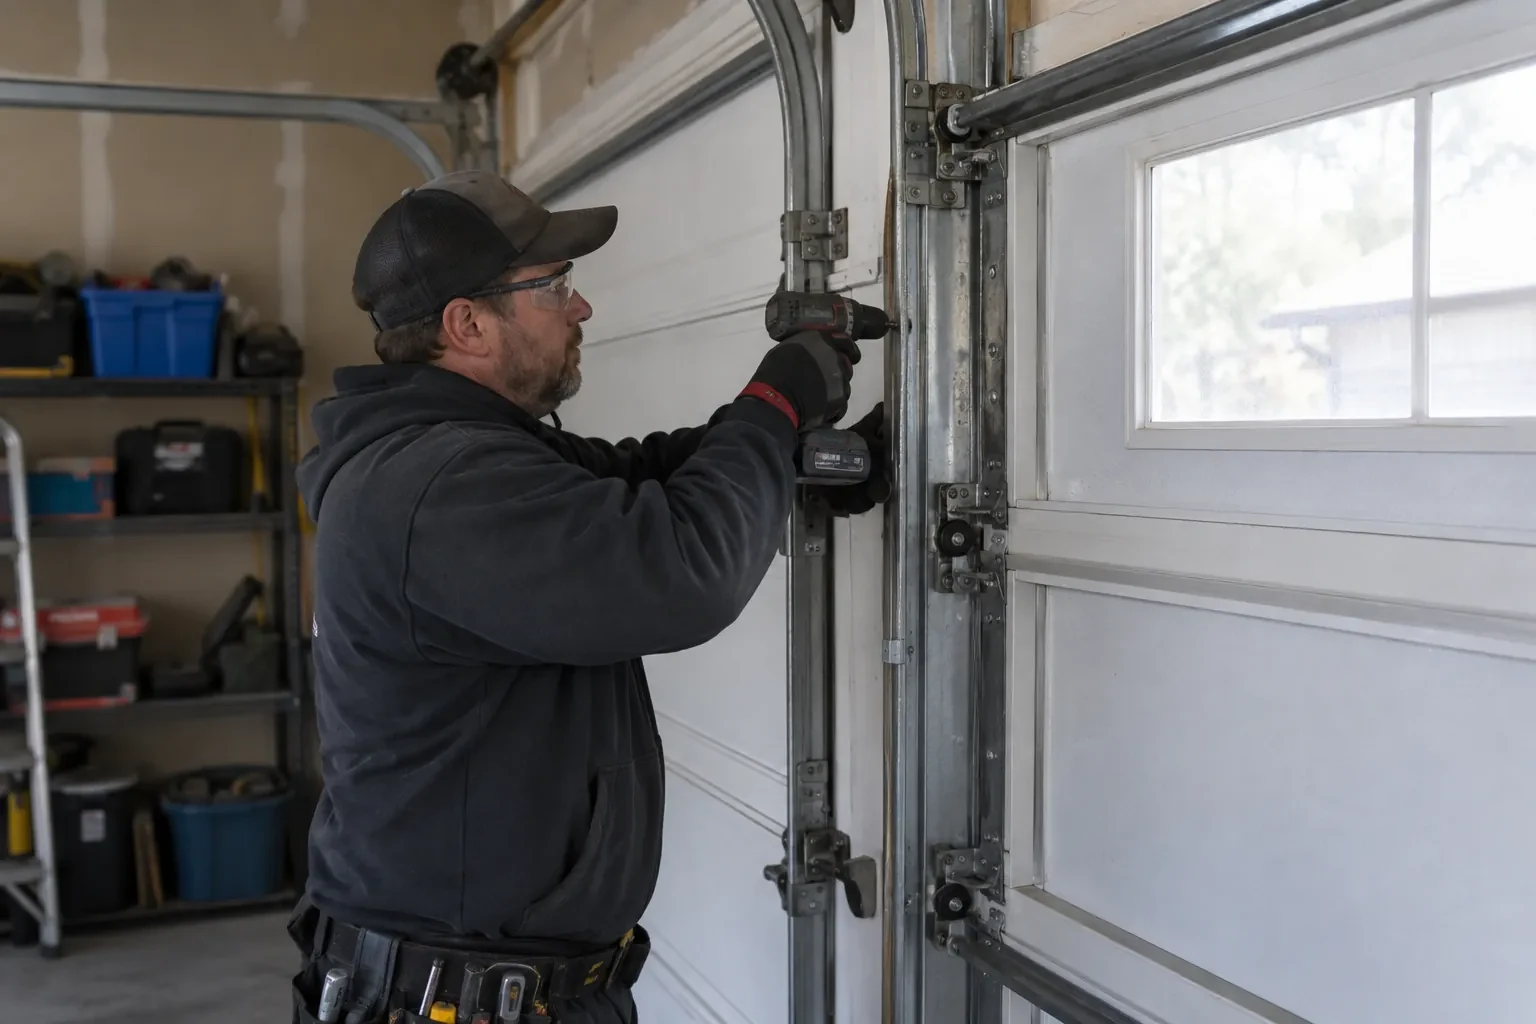
With the door settled, the release is inspected link by link rather than as a single handle. The cord: frayed, knotted, sun-rotted or cut short. The handle: present, red, and the right shape to grip. The lever on the trolley: does it swing fully to the release position and snap back, or is it bent, sticky or missing its spring. The trolley and carriage: are the latch surfaces worn, is the body cracked, is the arm to the door straight. The stops at either end of the rail: has the trolley been driven into one. Each link is checked so the repair replaces what failed rather than the part nearest to hand.
Reconnecting and proving the latch
Reconnection is done the way the maker describes for that unit. On most rails the cord is pulled toward the opener so the lever drops back to horizontal, then the opener is run and the trolley picks up the carriage with an audible click on the next cycle; on others the trolley re-latches when the door is lifted until it meets the carriage. The technician watches the join through a full open and close, then pulls the release and reconnects again to be sure the sequence repeats. You are shown what the click sounds like and what a trolley that has only half-latched looks like, so you can tell the two apart.
The sequence, demonstrated on your own door
Before leaving, the technician walks through the release with you rather than describing it. Door closed. Pull the handle straight down until the lever clicks over. Lift the door by its handle or a gripping point on the panel face, never at the joint between sections. Lower it the same way. To reconnect, pull the cord toward the opener, or simply run the opener, and listen for the trolley to click onto the carriage. Anyone in the house who might face a blackout with the car inside is welcome to try it while the technician is there.
Emergency Release Repair
In the van
Garage door lubricant
Track clamps to hold the door
Outside key release kit (lock, cable, keys)
Release cable and clips
Door arm, clevis pins and clips
Emergency Release Repair
What affects the quote
Distance to your door
Every visit includes the drive. A property on the edge of the service area or down a long rural road takes more of the technician's day than one a few streets away, and the quote allows for it.
Cord, lever or trolley
A rope and handle is the smallest item; a lever and spring sits in the middle; a complete trolley or carriage assembly is the larger part, and the diagnosis says which one you need.
Time of the call
A weekday daytime visit and an evening, weekend or holiday one cost the same amount for freeing or repairing an emergency release. The exact figure is confirmed once the technician has seen the trolley, the cord or lever, and how the door was left.
What to have ready
- Roughly how old is the opener, and can you read the model label?
- Does the garage have a side door or a door into the house?
- Does the opener run along the rail on its own without moving the door?
Emergency Release Repair: questions
QuestionsCan I replace the cord and handle myself?
A rope and handle kit is a simple part, and many homeowners fit one. The details matter, though: the knot at the lever has to hold under a hard pull, the handle has to end up at the right height, and the lever should be checked for wear while you are up there. If the cord failed because the lever or trolley is worn, a new rope alone leaves the real fault in place. Have it done as part of a release check and both get looked at.
What exactly is the emergency release on a garage door opener?
It is the manual disconnect between the opener and the door: a red handle on a cord below the rail, connected to a lever on the trolley. Pull it and the trolley lets go of the door so you can move the door by hand, for instance during a power outage. Push the lever back, or run the opener, and the two reconnect. It is required on residential openers, coloured red so it stands out from everything else overhead.
Why are the reversal tests done after a release repair?
Because freeing a trolley, changing a trolley or re-tensioning a chain or belt disturbs the travel limits and force settings the opener relies on. The tests prove those settings are still safe: closed onto a 2x4 lying flat, the door must reverse on contact; with something passed through the photo-eye beam while closing, it must stop and rise. They take a minute and are the same checks the standard asks of any working opener.
Related services
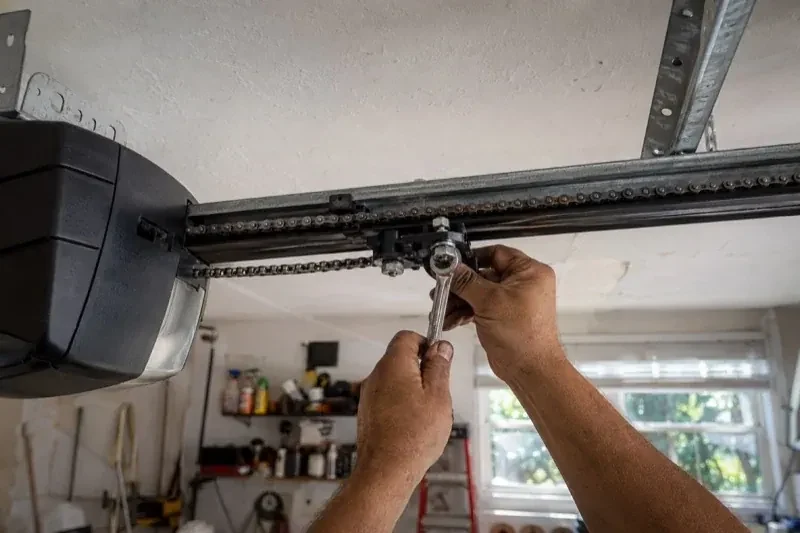
- Chain-Drive Opener RepairThe door opens about a third of the way and stops.
- Belt-Drive Opener RepairThe belt looks fine from a distance, but up close the rubber has cracked across the back in dozens of places and, in one spot, you can see the steel cords showing through.
- Garage Door Opener ReplacementSince the storm the door behaves oddly: it reverses halfway down for no reason, the light flickers, and the travel limits drift so it either slams or stops short.