Repairs · Centre Wellington
Garage Door Perimeter Weatherstrip
Dry leaves keep appearing in the same corner inside the garage, and this fall there were mouse droppings along the wall beside the door.
In plain words
The job follows a steady order. First the door is closed and the gaps are found from inside, by daylight and by feel. Then the door itself is checked for how it sits in the opening, since a seal only works against a door that is square to the frame. The jambs and header are inspected for rot and for how the old strip is fixed. The old material comes off, the surface is cleaned and repaired where needed, the header piece is fitted first and the sides after it, and the door is cycled several times to confirm nothing catches. You are shown the result with the lights off.
How the visit goesWith the door closed and the garage lights off, a thin bright line runs down the whole left side of the opening. You can see the neighbour's fence through it. The strip that should close that gap has shrunk back from the door.
Garage Door Perimeter Weatherstrip
How the visit goes
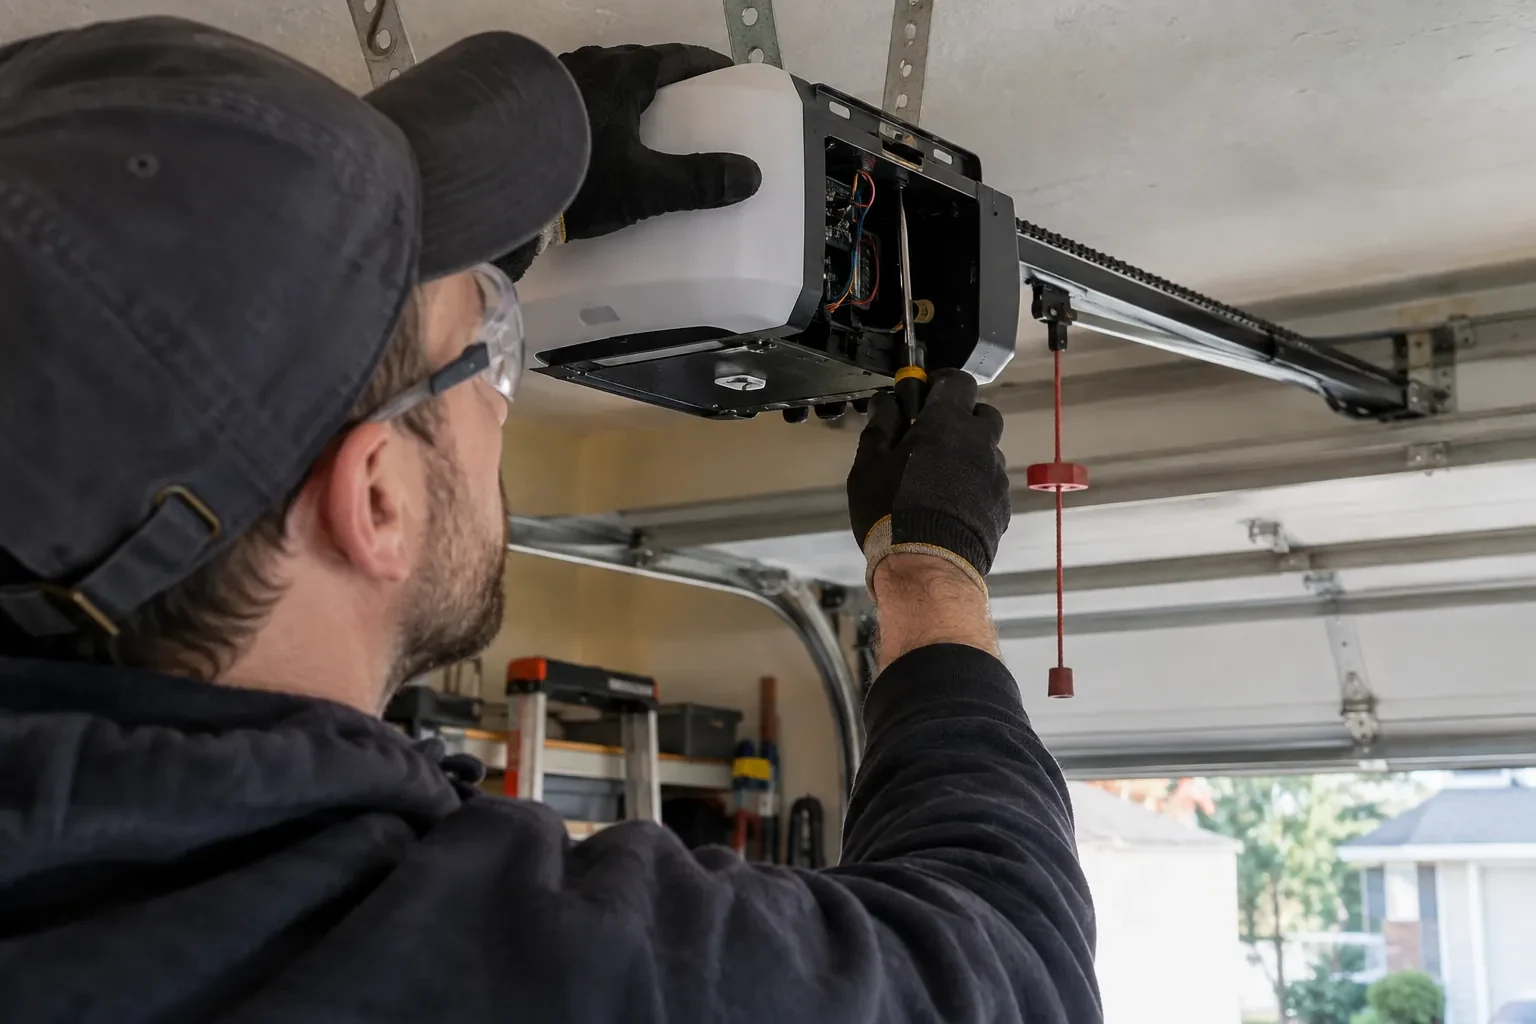
A daylight test from inside
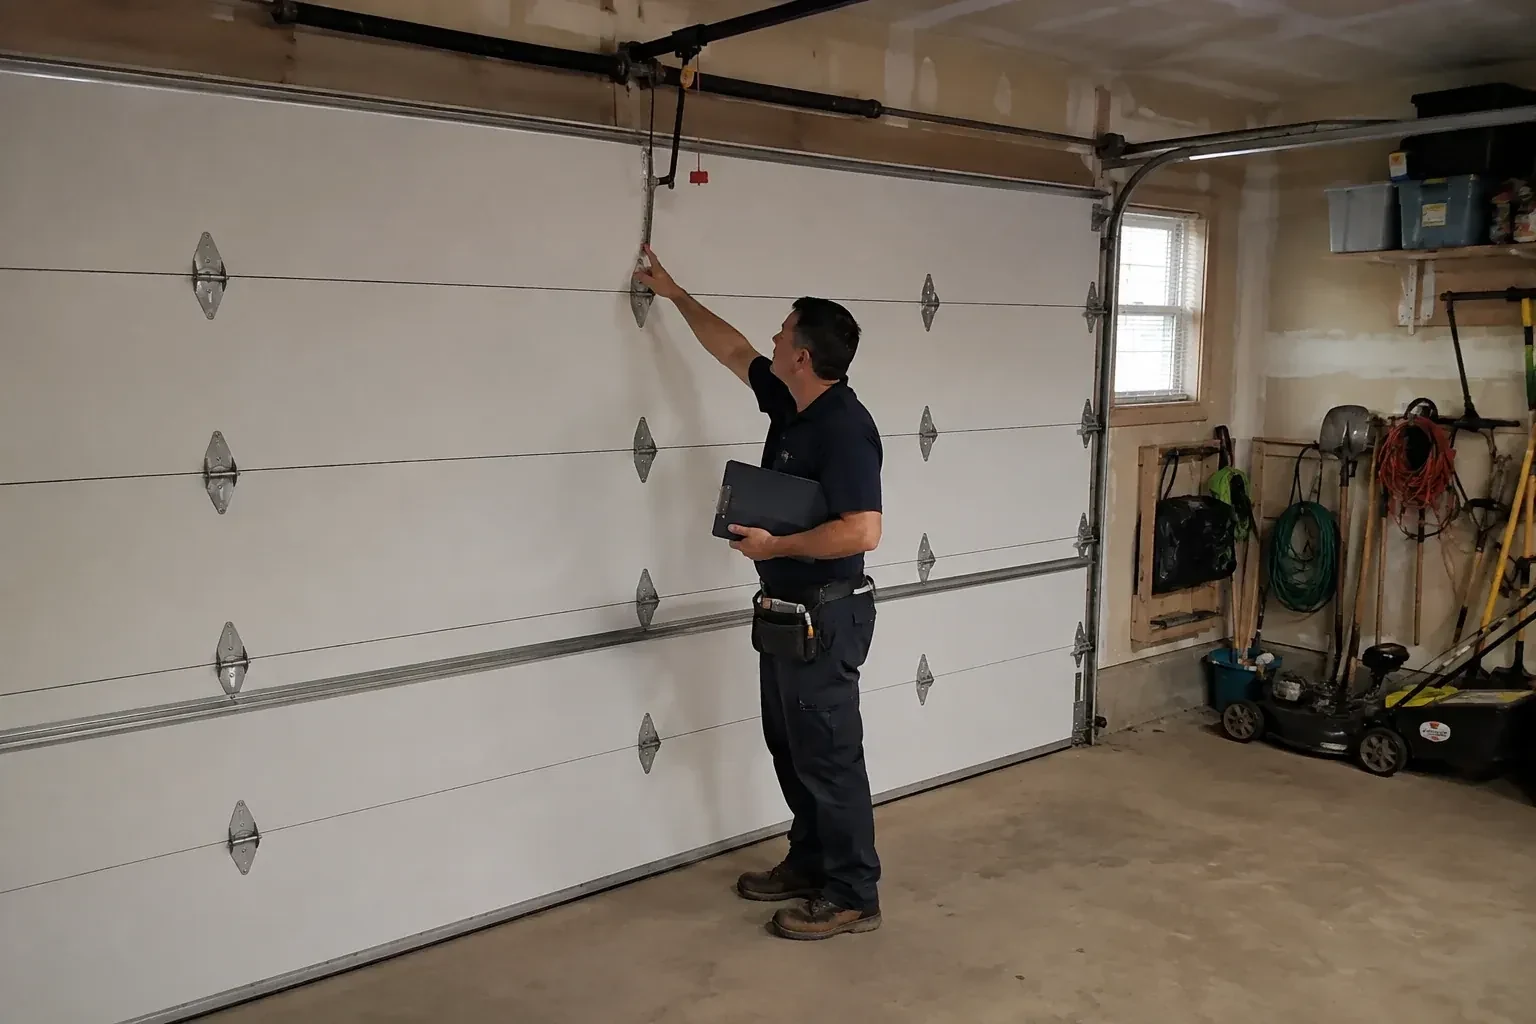
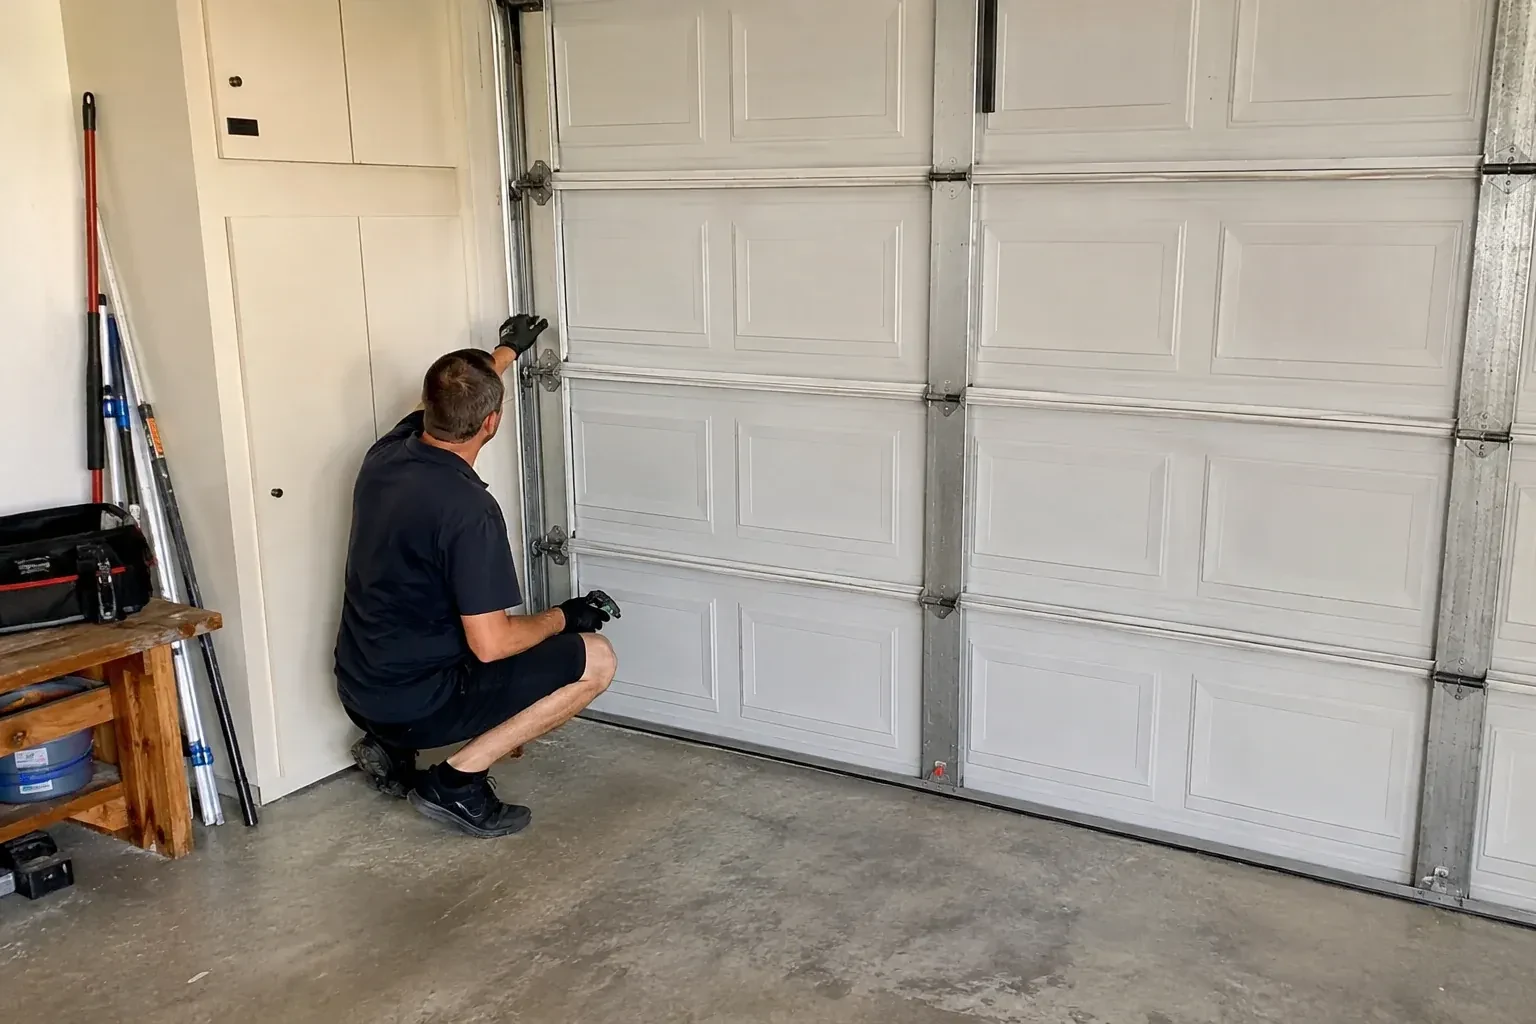
The first check needs no tools. The door is closed, the garage lights go off, and the technician stands inside looking along each side and across the header for lines of daylight. A bright, even line means the fin has shrunk back or hardened; a wedge that widens toward the top or bottom points to the door sitting out of square; a gap only at a corner means the pieces were never overlapped. On a windy day a hand or a smoke pencil along the edge finds drafts that daylight misses. The pattern of the gaps is what tells the technician whether the seal alone is the answer or whether the door needs a small adjustment first.
Fitting the sides and closing the corners
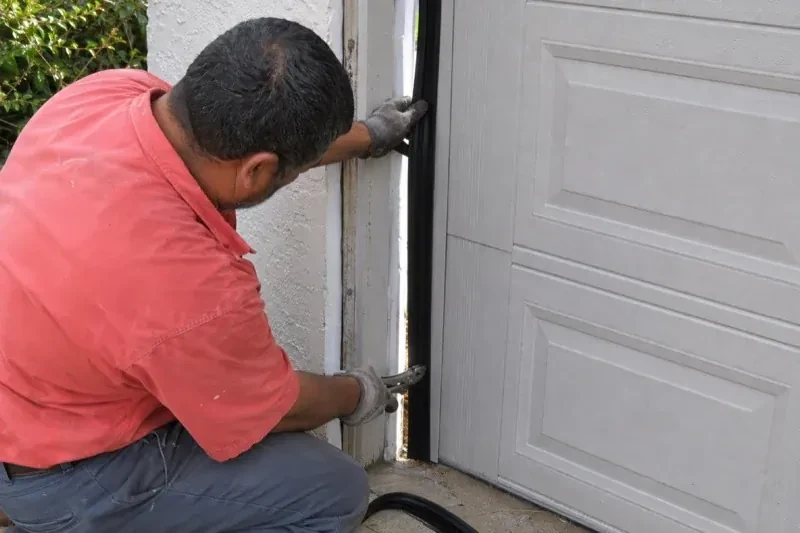
Each side length is cut to run from tight under the header piece down to the floor, with a little spare to trim in place. It is set with the same light contact as the header and fastened top to bottom. At the top corner, the side fin tucks under the header fin so they overlap, leaving no square hole for drafts or mice. At the floor the side is trimmed to meet the bottom seal on the door, so the seal is continuous around three sides and hands off to the fourth. Both sides are done the same way, checking the door edge gap as they go.
Corners that stay closed to pests
With the header and side fins overlapped, the small square holes that mice and wasps used are gone. Keep them that way by checking the four corners each autumn, when animals are looking for warmth, and pressing any lifted corner back into place. The point where the side seal meets the bottom seal on the door is worth a look too, since the bottom seal wears on its own schedule. A clear threshold, with leaves swept away from the door, removes the shelter pests use to work at a corner. Sealing the perimeter is one of the simpler parts of keeping a garage pest-free.
Garage Door Perimeter Weatherstrip
In the van
Epoxy consolidant and exterior primer
Exterior screws and weatherproof staples
Exterior caulking and gun
Vinyl stop moulding with integral seal
Galvanized or stainless trim nails
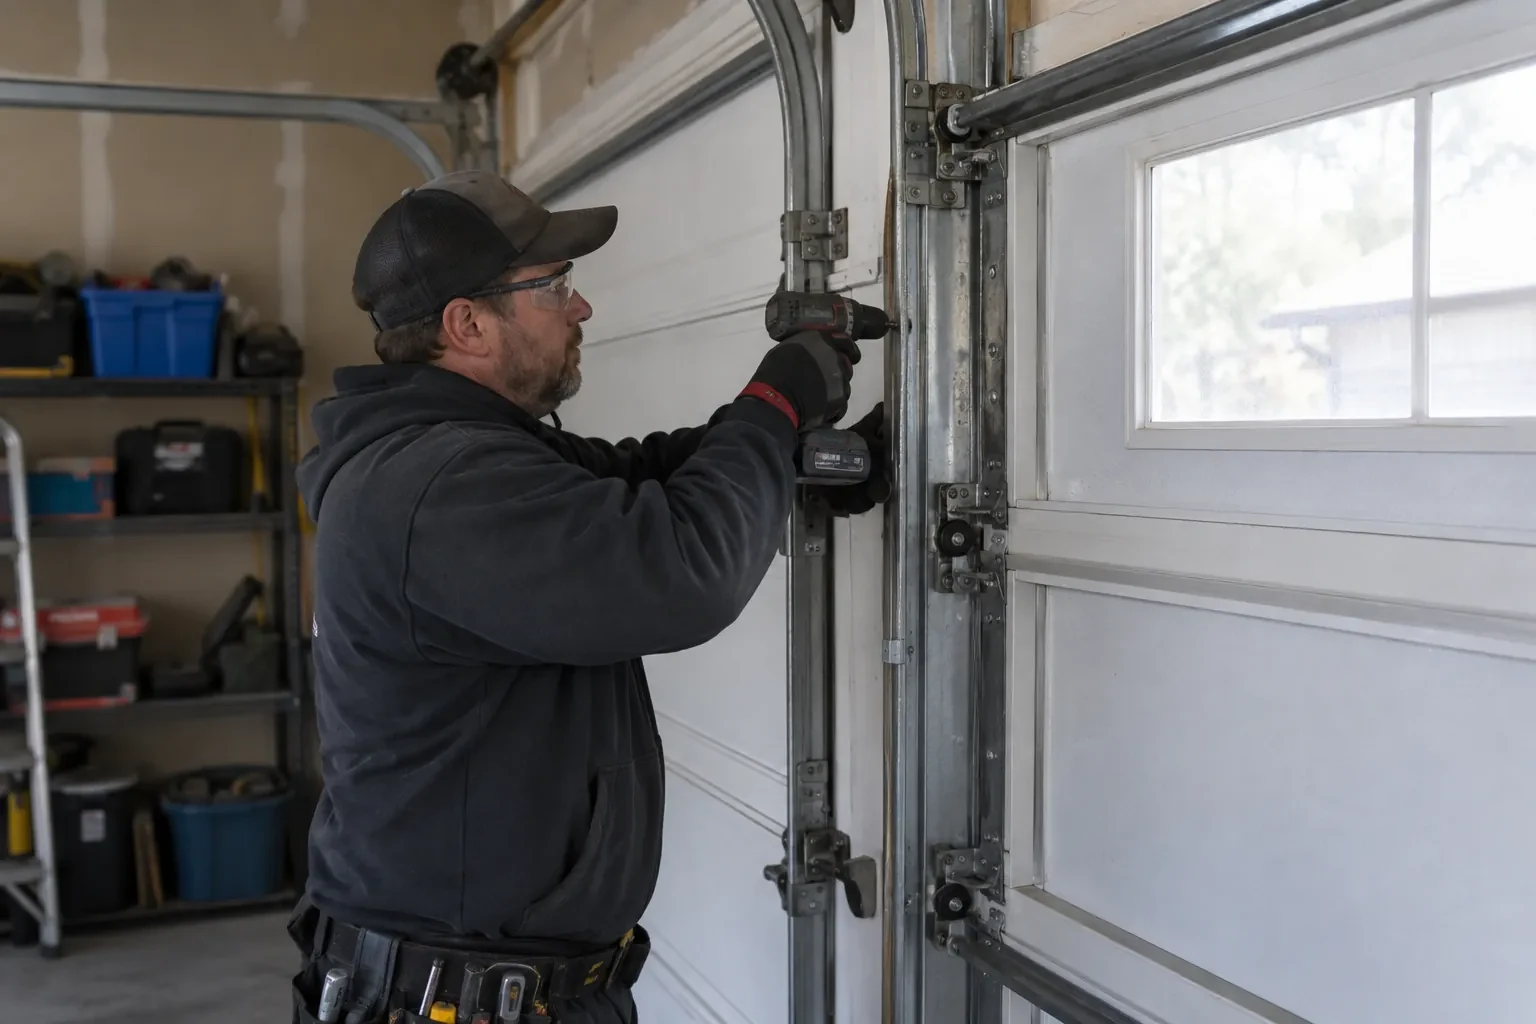
Garage Door Perimeter Weatherstrip
What affects the quote
Adding a brush or foam seal to the sides as well as the stop
Some households want only the top and side stop replaced, while others add a brush or foam seal along the same run for a tighter fit against wind-driven snow. That extra material and the time to fit it are agreed before the old stop comes off.
Fin on the existing stop or a one-piece vinyl stop
Nailing a new fin to a sound wood stop uses less material than replacing the stop with a one-piece vinyl moulding, which costs more as a part but needs no paint and does not rot.
Jamb material
Wood jambs take nails; steel or aluminum-clad jambs need screws and sometimes a backing piece, and masonry openings need a different fixing altogether, each with its own time and hardware.
What to have ready
- Have mice, leaves or water been getting in?
- Is the seal cracked, torn, loose, or missing in places?
- Where do you see daylight, drafts or snow: sides, top, or corners?
Garage Door Perimeter Weatherstrip: questions
QuestionsWhy is there daylight on one side but not the other?
It can be either. Worn rollers, a track bracket that has shifted or a top section that bows can move the door face toward one jamb and away from the other, and a seal that is damaged, shrunk, the wrong size or set slightly off the door face shows the same way. The technician checks both the door's alignment and the seal itself, corrects what is out of true, then fits the new seal to a door that closes evenly.
How can I tell the side and top seal needs replacing?
Close the door, turn off the garage lights and look along the edges for daylight. Then press the fin with a thumb: it should be soft and spring back. Hardness, cracks, pieces missing, a strip hanging loose, snow or leaves inside along the edge, or a fin that has folded under and torn are all signs. A rubbing squeal as the door moves is another.
Why should the seal only touch the door lightly?
The fin is meant to bend against the door with a small, even deflection. That is enough to seal, and it lets the fin spring clear as the door lifts. Pressed hard, it drags on the door face, folds under on the way down, squeals and wears through well before its time, and it adds load to the opener. Set too far off, it leaves a standing gap. The light touch is the setting that lasts.