Repairs · Centre Wellington
Garage Door Bottom Seal Replacement
Every mild afternoon the snow melts off the car, runs to the door, and by morning the rubber strip along the bottom is frozen to the concrete.
In plain words
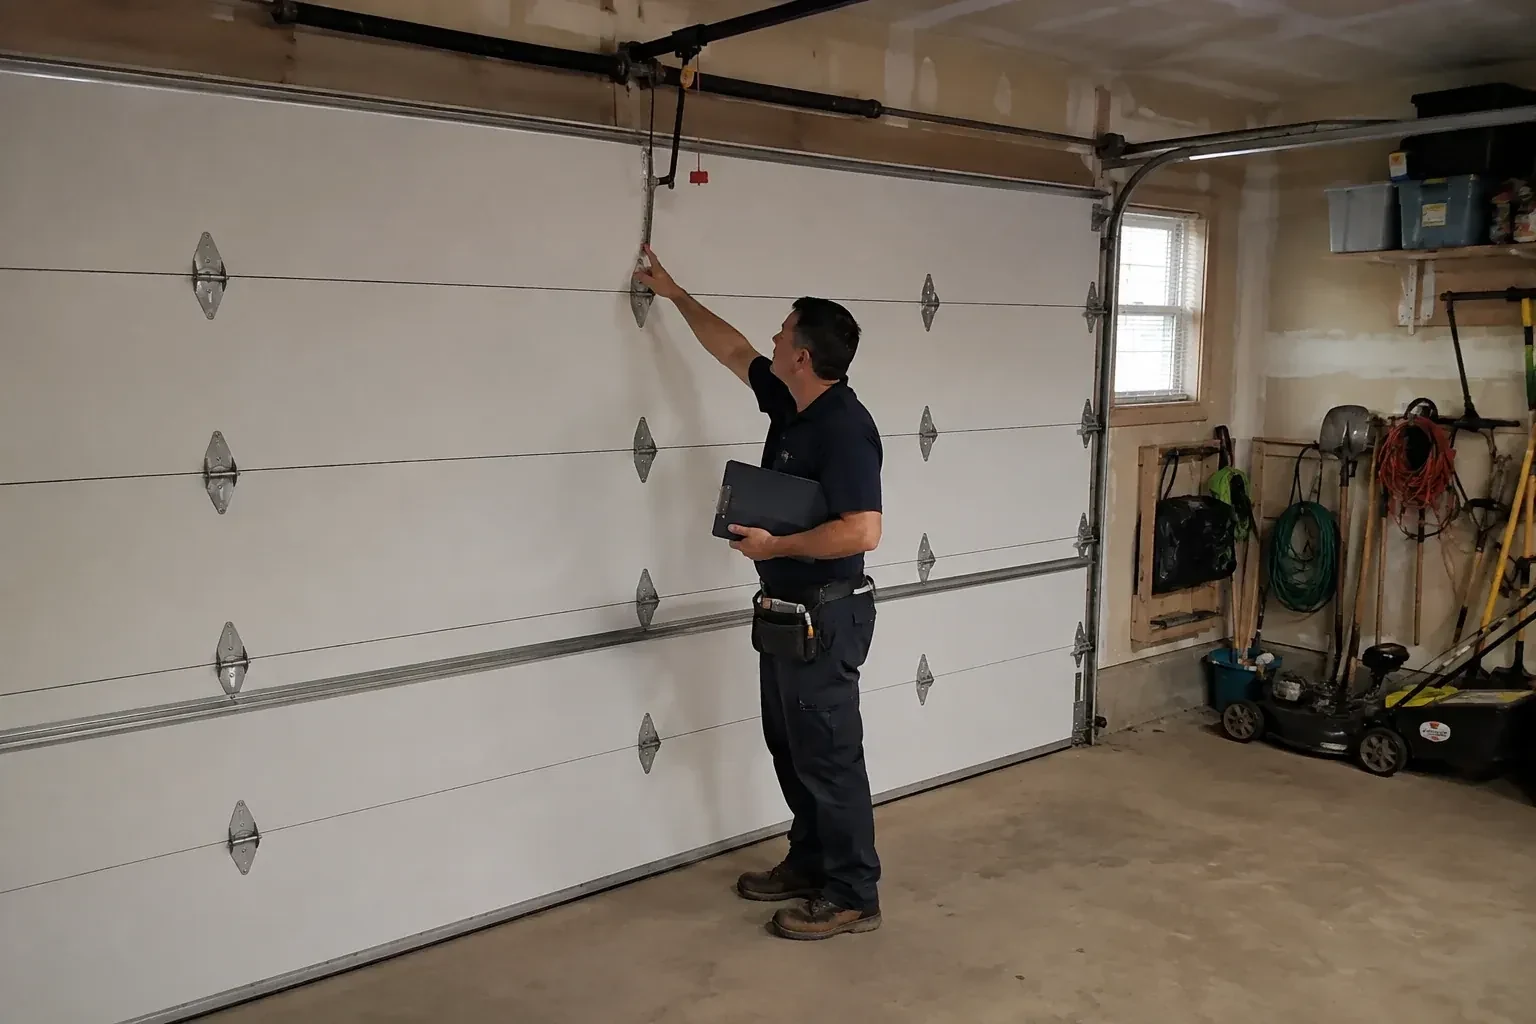
A seal visit runs in a set order. With the door closed, the technician looks for daylight along the floor line and notes whether the gap is even or concentrated at one point. The door is checked for level and the bottom section for straightness, then the retainer is identified and measured. The opener is disconnected and the door secured before the old strip comes out and the channels are cleaned. A new seal, cut a little long, is fed into the channels and trimmed. Finally the door is closed onto the new seal, the opener's limits are reset, and the reversing test is run before the tools go away.
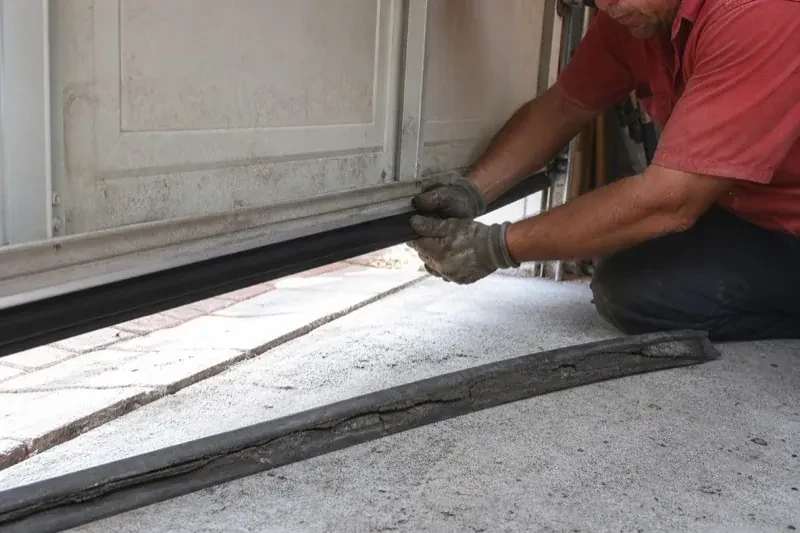
How the visit goesOne end of the bottom seal has slipped out of its channel and hangs down like a loose shoelace. Each time the door closes it folds under, each time it opens it flaps, and the gap beside it keeps growing.
Garage Door Bottom Seal Replacement
How the visit goes
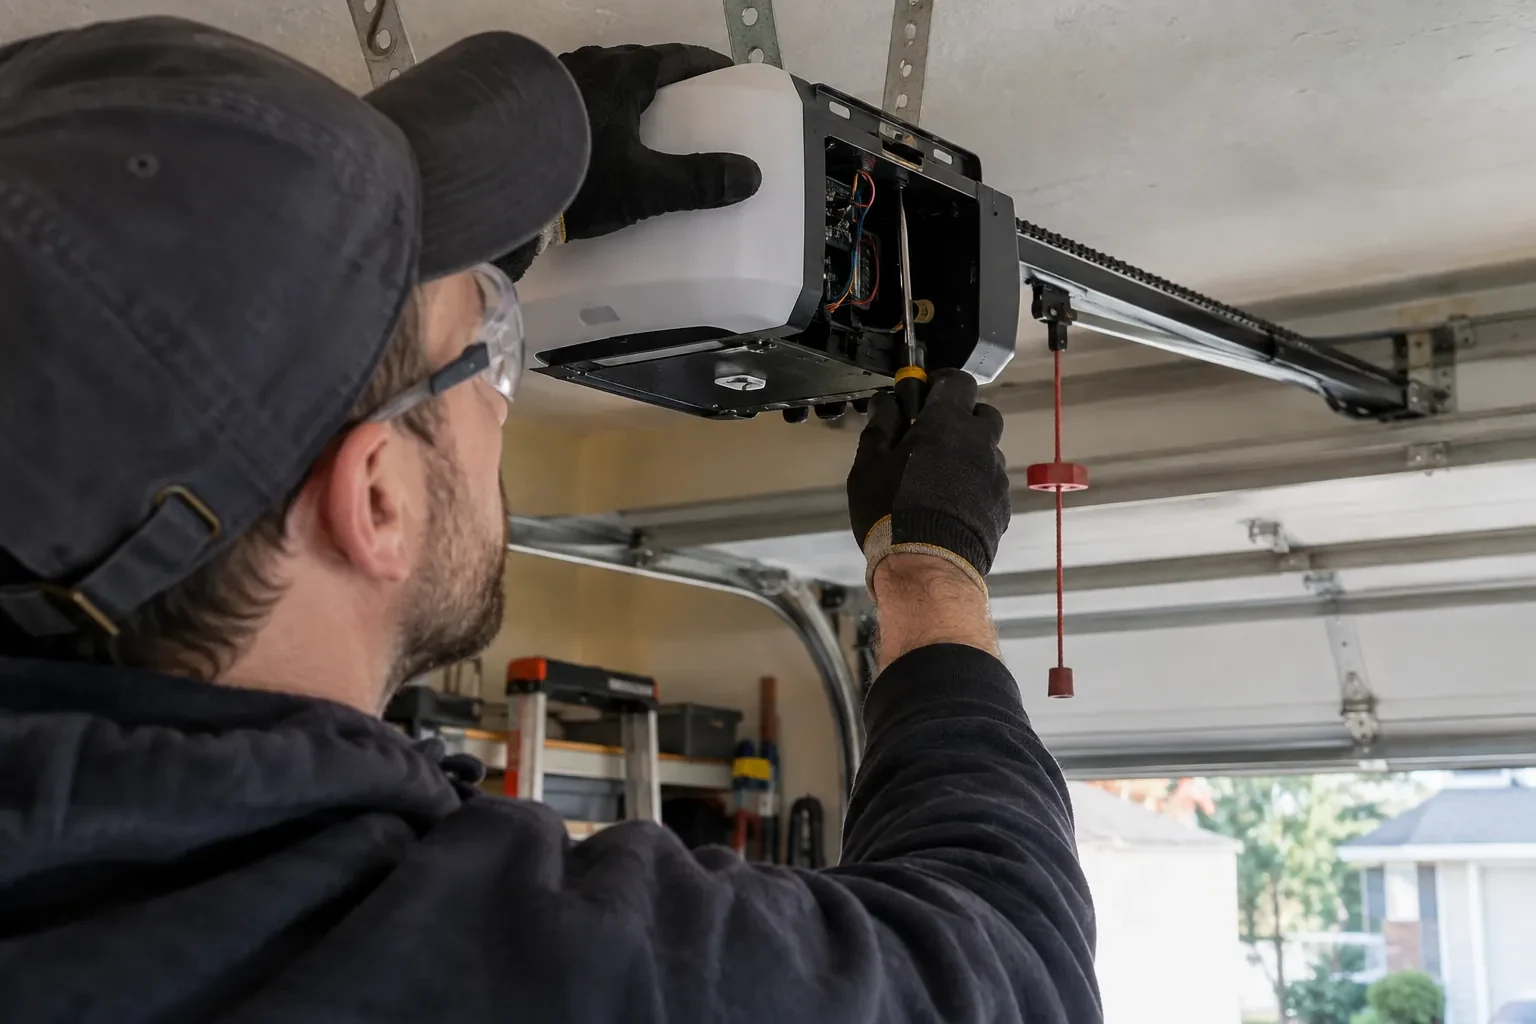
The bottom section and its rail
The seal can only be as straight as the edge it hangs from, so the bottom section gets a careful look. On a steel door the technician checks the bottom rail for rust where salt water has sat, dents from a bumper or a shovel, and any bow across the width. On a wood door the rail is checked for rot, cupping and the upturned corners of an old door that has dried unevenly. Fasteners for the retainer and the bottom brackets are checked for corrosion. A sound, straight rail lets a standard seal do its job; a damaged one is pointed out so you can decide on repair, a taller seal, or both.
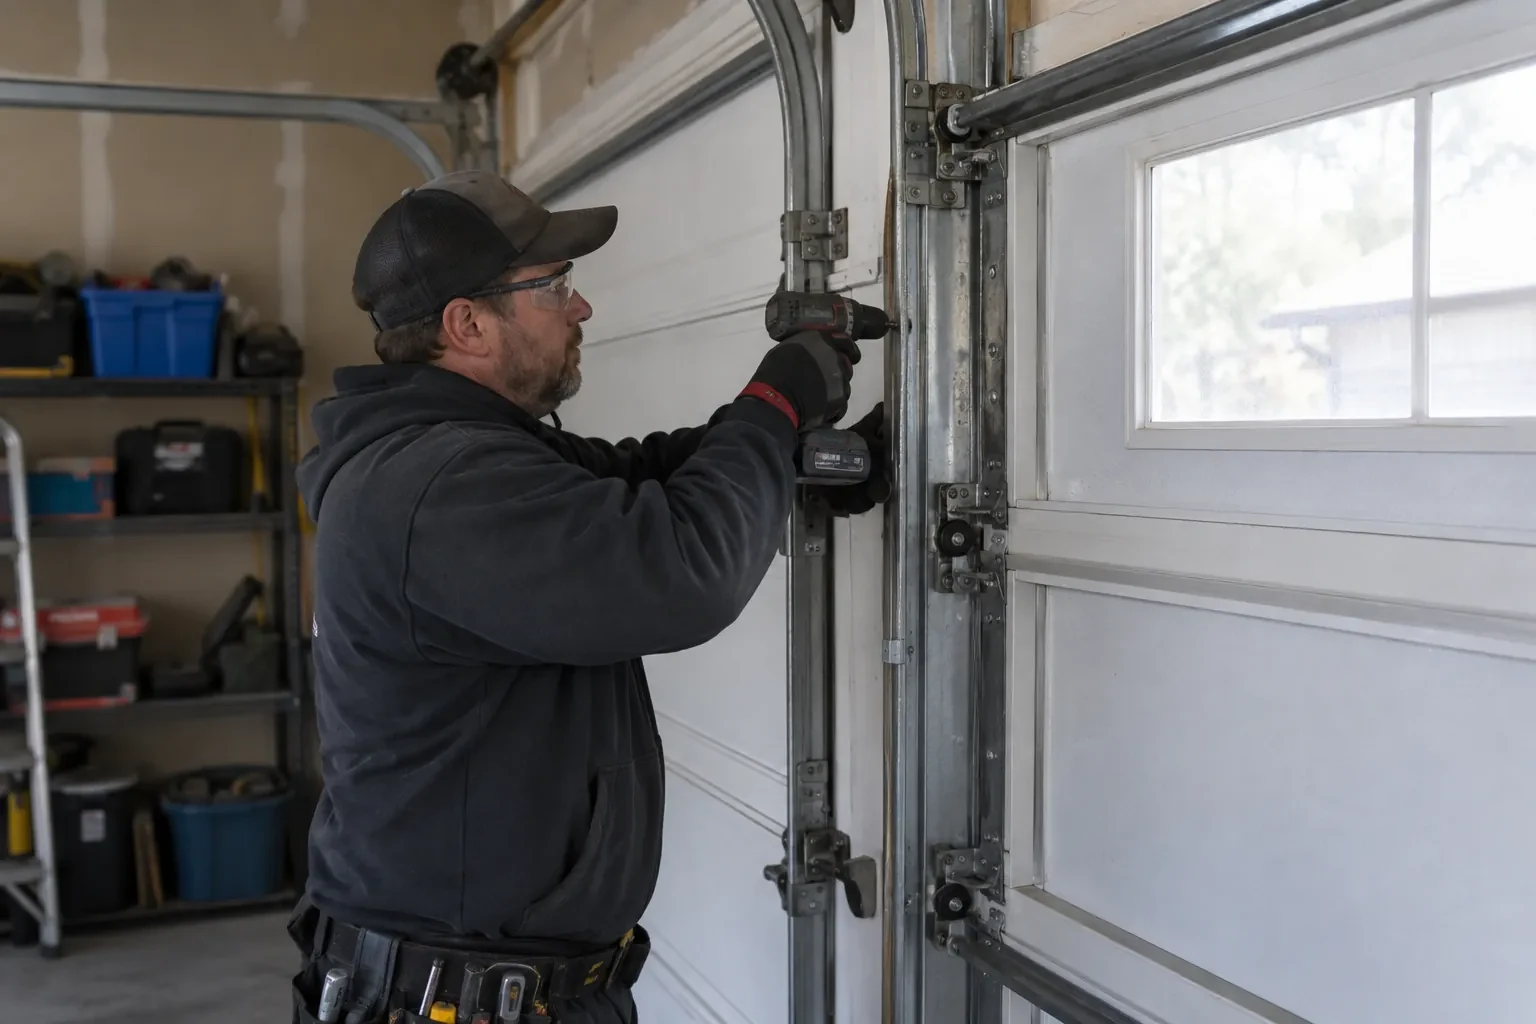
Securing the door before work begins
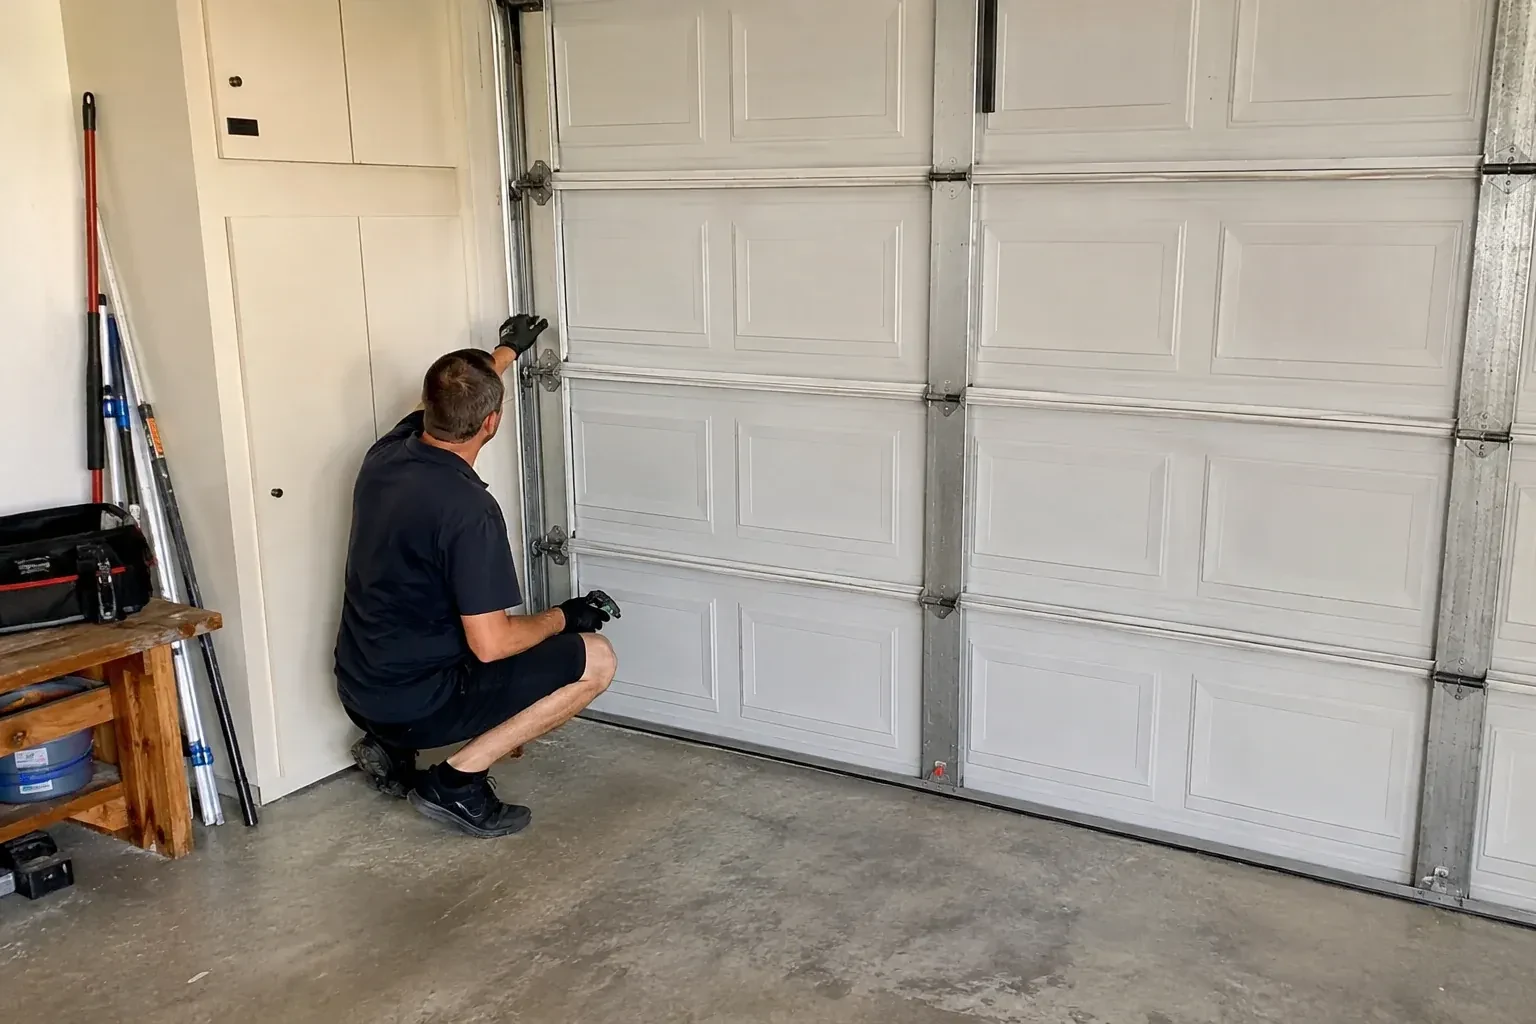
The opener's release cord is pulled so the motor is out of the picture, and the door is raised by hand to a height where the bottom rail sits at a comfortable working level, usually around chest height. A clamp goes on each vertical track just below a roller so the door cannot drift down while the retainer is exposed. The bottom brackets in each corner stay untouched throughout, because they carry cable tension whenever the springs are wound. With the door held and the floor in front clear, the seal and retainer can be handled like any other piece of hardware.
A door that meets the floor in one line
The first thing you notice is the absence of daylight. With the door closed and the lights off, the floor line is dark from one jamb to the other, and the draft that used to move across the floor is much reduced. The door lands softly, because the opener now stops when the seal is gently compressed rather than driving the section into the concrete. Leaves, grit and drifting snow are kept out far more often. If you crouch and look, the new bulb sits evenly along the slab, filling the low corner the old strip used to hover above.
Garage Door Bottom Seal Replacement
In the van
Seal end caps
Bulb or U-style bottom seal
T-style bottom seal
Wire brush and scraper
Track clamps
Garage Door Bottom Seal Replacement
What affects the quote
Door out of level
If one corner of the door hangs low because of cable or spring tension, levelling the door is separate work done before the seal goes in and is priced on its own.
Seal profile and size
T-style, bead and bulb profiles in different widths and heights sit at different points on the parts list, and the retainer on your door decides which one is used.
Retainer replacement
If the aluminum or plastic retainer is bent, spread open or corroded, a new extrusion, fasteners and the time to fit it straight along the rail are added as their own line.
What to have ready
- Has the seal frozen to the floor this winter?
- Is there a car or storage inside that needs moving before the visit?
- Does the driveway slope toward the garage, or does water pool at the door?
Garage Door Bottom Seal Replacement: questions
QuestionsWhy is the gap much bigger at one corner?
Two causes are common. The door may be hanging out of level because a lift cable has stretched, a drum has crept on its shaft or spring tension is uneven, which drops one corner. Or the slab may have settled or heaved at that end so the floor falls away. The technician checks both before choosing a seal, since a level door and the right seal height together close a wedge-shaped gap.
How long should I allow for the work?
Plan on an hour or two for a straightforward replacement on a standard door, including the inspection and the opener reset. A retainer replacement, a hardened seal that has to come out in pieces, a wood door with a nail-on strip or the addition of a threshold seal each add time. The technician will give you a realistic window once the door has been looked at.
Should the side and top weatherstripping be replaced at the same time?
It is worth having them looked at while the technician is there. The vinyl fin on the stop moulding around the jambs and header shrinks, tears and hardens on the same schedule as the bottom seal, and a draft that survives a new bottom seal usually comes from the sides. Doing the perimeter in the same visit saves a return trip and leaves the door sealed on all four edges.