Openers · Centre Wellington
Photo-Eye Sensor Alignment or Replacement
Someone backed the car in a little too far, a bin or a bicycle brushed the track, and since then the door starts to close and comes back up.
In plain words
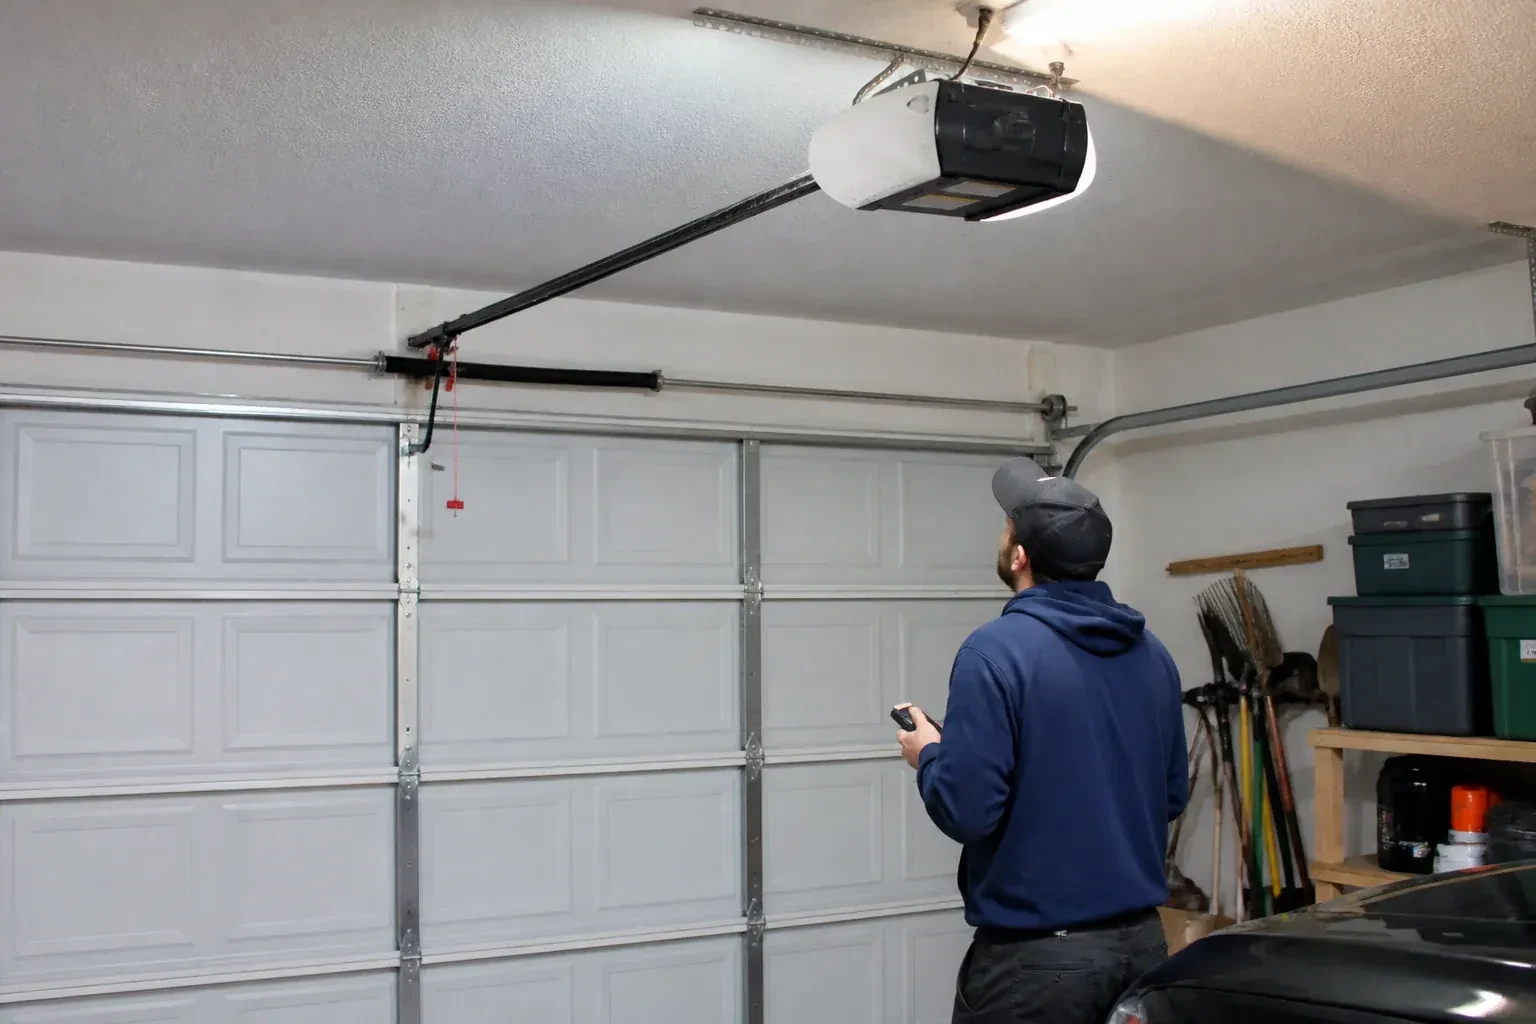
Two small sensors face each other across the doorway: one sends an infrared beam, the other receives it. While the beam lands on the receiver, the opener will close the door; the moment anything interrupts it, the door stops and returns to open. Every sensor call comes down to why the receiver has lost the beam: an object, a bent bracket, a dirty or frosted lens, sun in the receiving eye, a broken wire or a tired sensor. The technician works through those in order, fixes the one that applies, and shows you the steady indicator lights that mean the pair is talking again.
How the visit goesSomeone backed the car in a little too far, a bin or a bicycle brushed the track, and since then the door starts to close and comes back up. One sensor now sits at a slightly different angle from the other.
Photo-Eye Sensor Alignment or Replacement
How the visit goes
Following the wire home
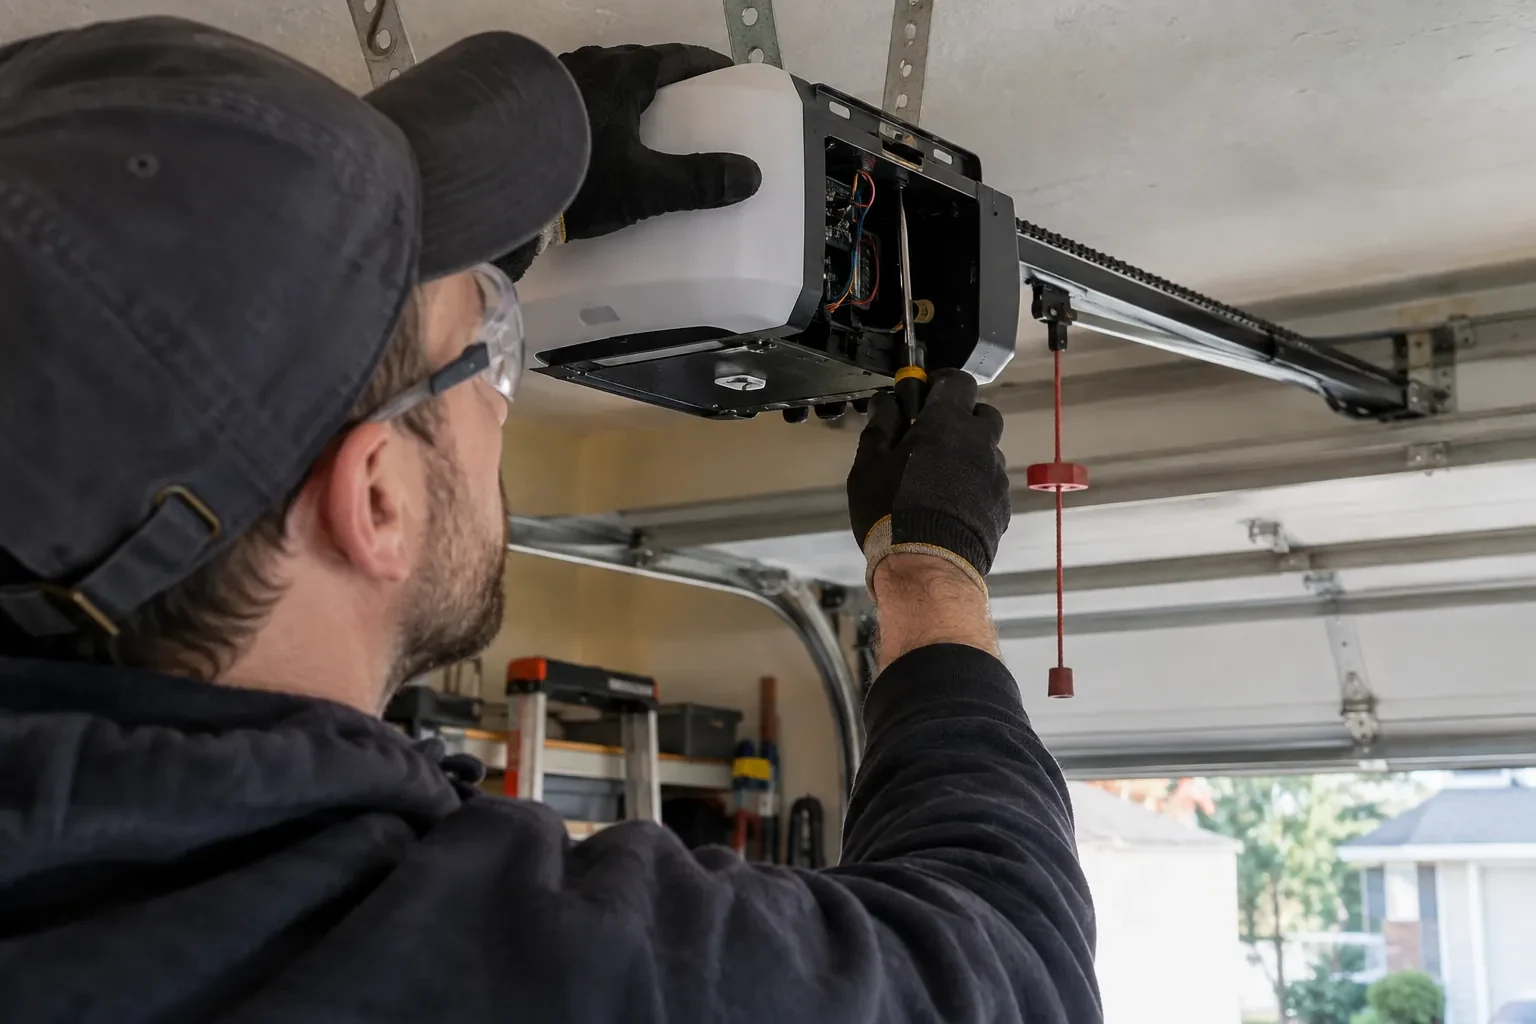
When the lights or the code point to the circuit, the low-voltage wire is followed from each sensor to the head unit. The technician looks for staples driven through the insulation, wire pinched behind a track bracket, sections chewed by mice, cuts where shelving or drywall screws went in, splices that have corroded, and terminals at the head unit that are loose or connected the wrong way round. A meter confirms continuity and polarity rather than guessing. Where the wire disappears into a finished ceiling, the readings at each end tell whether the hidden section is sound or whether a fresh run is the tidier answer.
Straightening or replacing the brackets
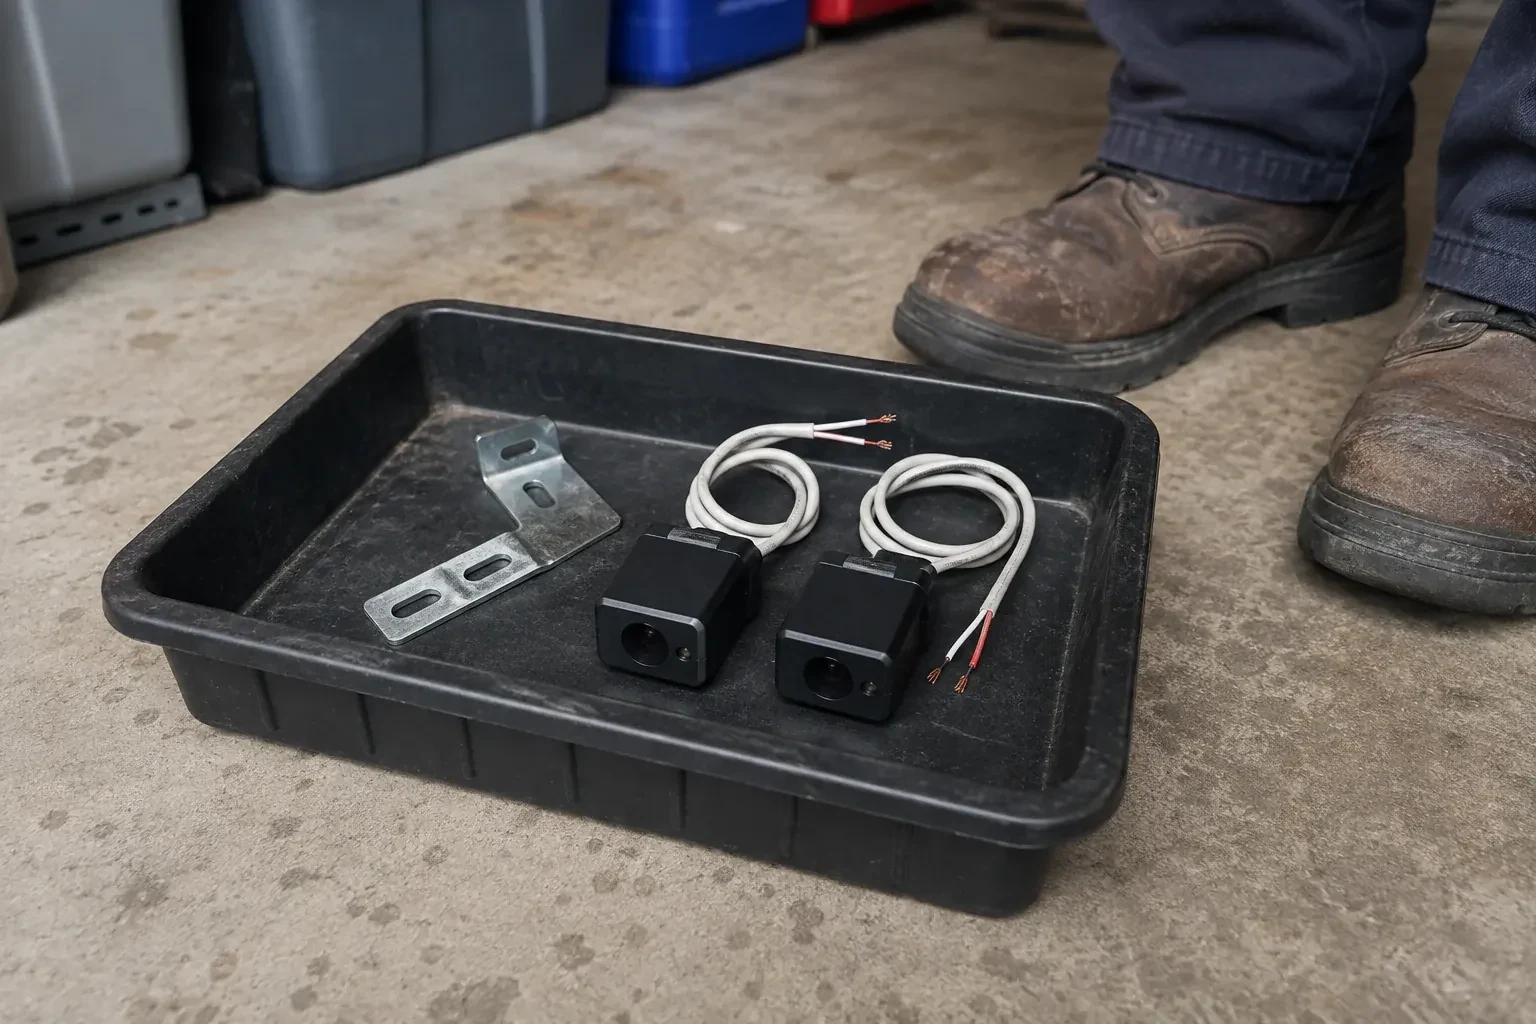
A bent bracket is straightened where the metal allows and replaced where it has cracked or rusted through. New brackets are chosen to suit the mounting: a track-mounted clip that rides the vertical rail, or a right-angle bracket anchored to the wall or the concrete where the track sits too far back. Fasteners that vibrated loose are replaced with the right carriage bolts and wing nuts rather than reused. Where a bracket has been sitting in salt slush every winter, it is set a touch higher within the permitted range and the mounting is sealed against the wall so water stops running behind it.
Wiring that stays put
The wire between the head unit and the sensors has been secured along the ceiling and walls, clipped clear of the track and, where it was exposed, run inside a protective channel. Two things keep it that way. First, when anything is fastened to those walls or that ceiling, from shelving to a bike hook to drywall, look for the thin wire before driving a screw or a staple. Second, if mice have been in the garage, a chewed wire is a common sign, so a dark sensor light after a sighting is worth a look at the run. Either way, the sensor lights will tell you the moment the circuit is open.
Photo-Eye Sensor Alignment or Replacement
In the van
Protective wire channel
Insulated wire staples
Receiving-eye sun shade
Two-conductor low-voltage wire
Track-mount sensor brackets
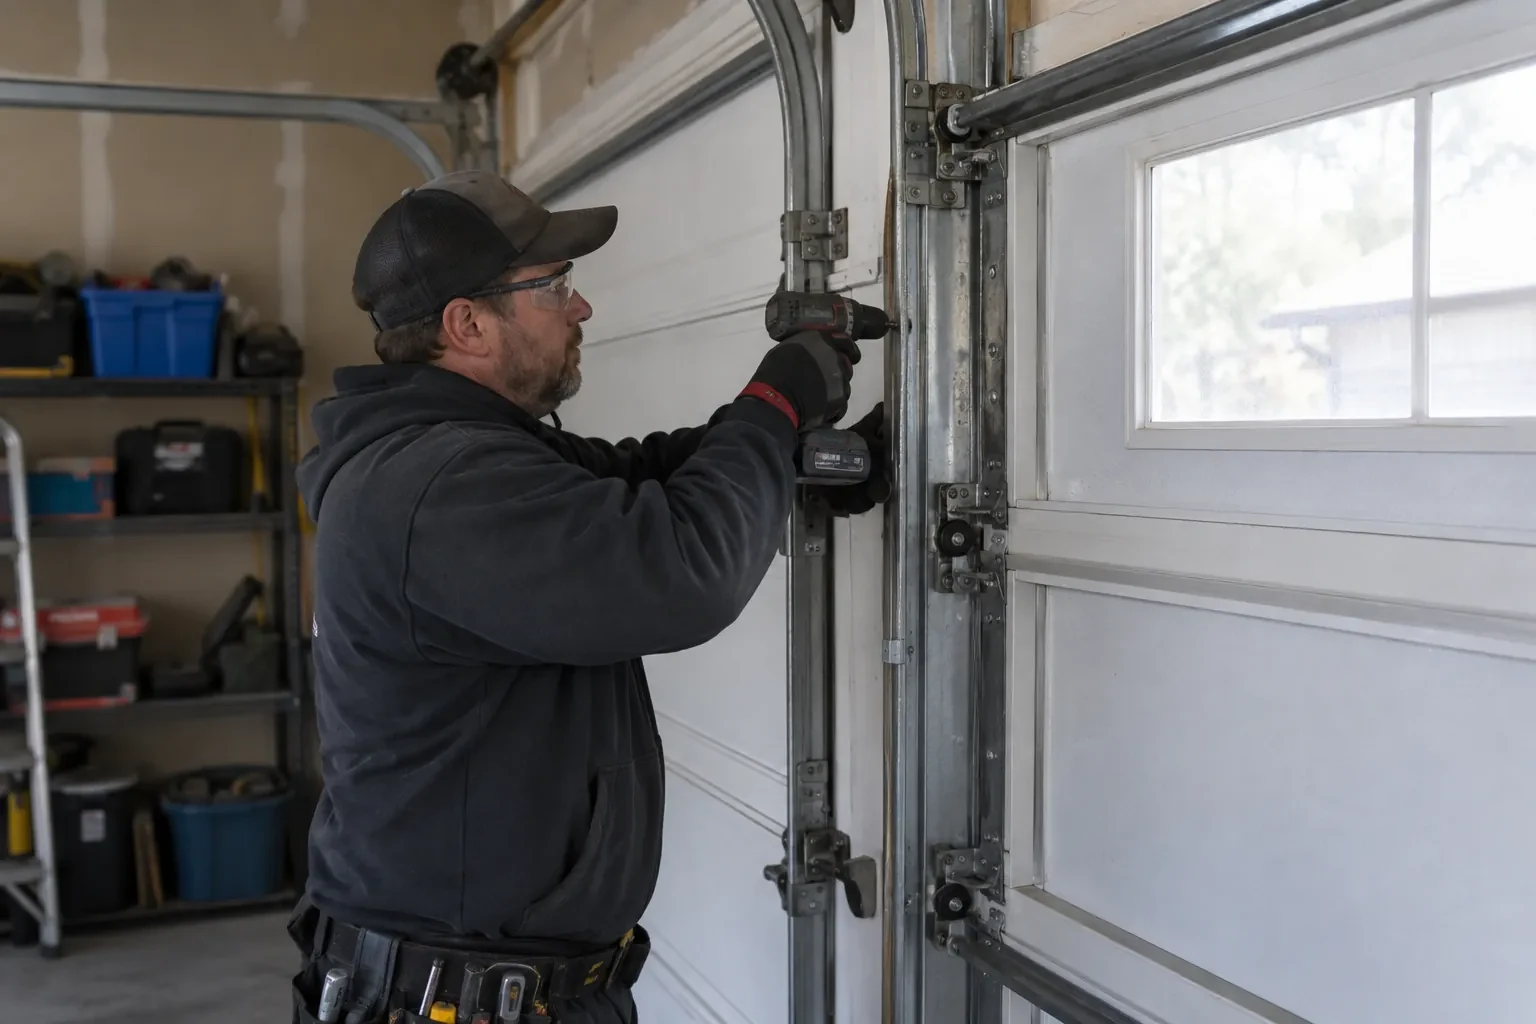
Photo-Eye Sensor Alignment or Replacement
What affects the quote
Length and route of the wire run
A damaged section near a sensor is a short repair. A fresh run from the motor to both sides of the doorway takes longer, more so where the wire is buried in a finished ceiling.
Door-side findings
A balance problem, a stiff roller or a bottom seal that needs replacing sometimes shows up during testing. Those belong to their own service and are noted and quoted separately rather than hidden in the sensor work.
An opener without a sensor circuit
Where the operator predates monitored sensors and cannot accept a pair, the quote changes shape into a modern operator with its own sensors, which is discussed as a separate decision rather than folded in.
What to have ready
- Which direction does the garage door face?
- Can you see the thin sensor wire, and does any of it look pinched, cut or chewed?
- Are there sensors at the floor on both sides, or are they missing or mounted up beside the motor?
Photo-Eye Sensor Alignment or Replacement: questions
QuestionsIs it all right to keep using the door until the visit?
Use the door in a way that keeps you in control. If the opener closes only while the wall button is held, do that only while you can see the whole doorway and nobody is near it. Otherwise close the door first if you can, then move it by hand with the manual release, and get help if it feels heavy or binds. Keep children and pets clear during any test. A door that reverses is being cautious on your behalf.
Do sensors wear out with age?
They do, slowly. The infrared emitter and the receiver dim over many years, lenses craze or cloud from sun and salt, housings crack, and water finds its way in at floor level. A pair that needs re-aligning more and more often, or whose light drifts between steady and flickering with nothing touched, is usually ageing. Because pairs are matched to the opener, an older opener is worth identifying early so the right replacement is on hand.
How long does a sensor visit take?
Alignment, cleaning and a bracket adjustment are done inside an hour on most doors, including the two tests at the end. Replacing the pair adds a little for wiring and setup. Re-running the wire all the way from the motor to both sensors is the part that stretches a visit, especially where the wire is behind a finished ceiling or the garage is full. Having the floor by the door clear before arrival helps.
Related services
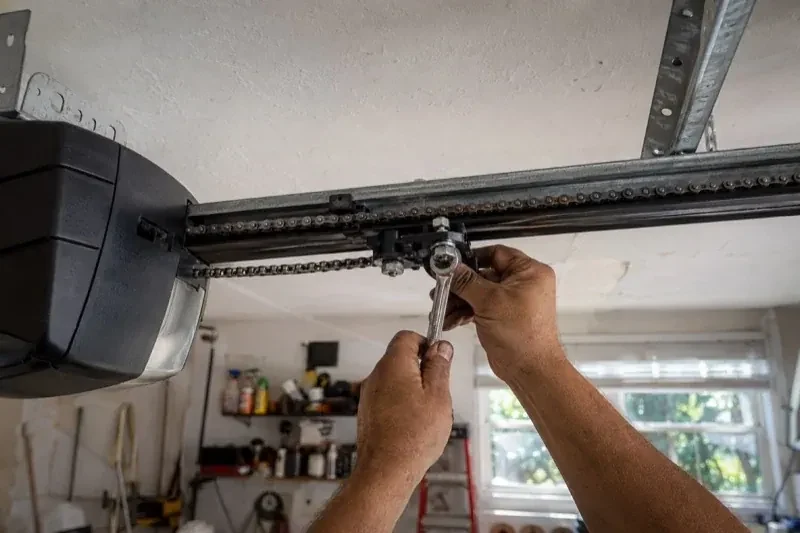
- Chain-Drive Opener RepairThe door opens about a third of the way and stops.
- Belt-Drive Opener RepairThe belt looks fine from a distance, but up close the rubber has cracked across the back in dozens of places and, in one spot, you can see the steel cords showing through.
- Garage Door Opener ReplacementSince the storm the door behaves oddly: it reverses halfway down for no reason, the light flickers, and the travel limits drift so it either slams or stops short.